A practical guide to your next decision
A practical field guide to image size, composition and file weight. Read from start to finish, or jump straight to the decision you need to make.
Worked example and sample files
Batch processing applies one set of settings to several files in sequence. Each image keeps its own aspect ratio in fit mode. A mixed set of portrait and landscape photos therefore produces different output dimensions. This is useful when you need a common bounding box, but an exact catalog canvas requires padding or a deliberate crop.
Work through an example
Set both maximum sides to 1600. A 4000 × 3000 photo becomes 1600 × 1200, while a 3000 × 4000 portrait becomes 1200 × 1600. A 600 × 400 input stays 600 × 400 when enlargement is off. The ZIP includes only files that finished successfully.
- Open the relevant tool below and choose a supported image. Check the original dimensions and bytes before changing anything.
- Set the dimensions and fitting mode for your destination. Enable enlargement only if you accept that it cannot restore missing detail.
- Process the image, switch between Original and Result, and check the final pixel dimensions and exact bytes. If a target is not met, change an allowed constraint and run again.
Check before you download
The queue permits 50 files, 25 MiB per file and 250 MiB total. ZIP has a separate 128 MiB output budget. If one file fails, review its error and download the successful files individually or as a smaller archive.
Try the files yourself
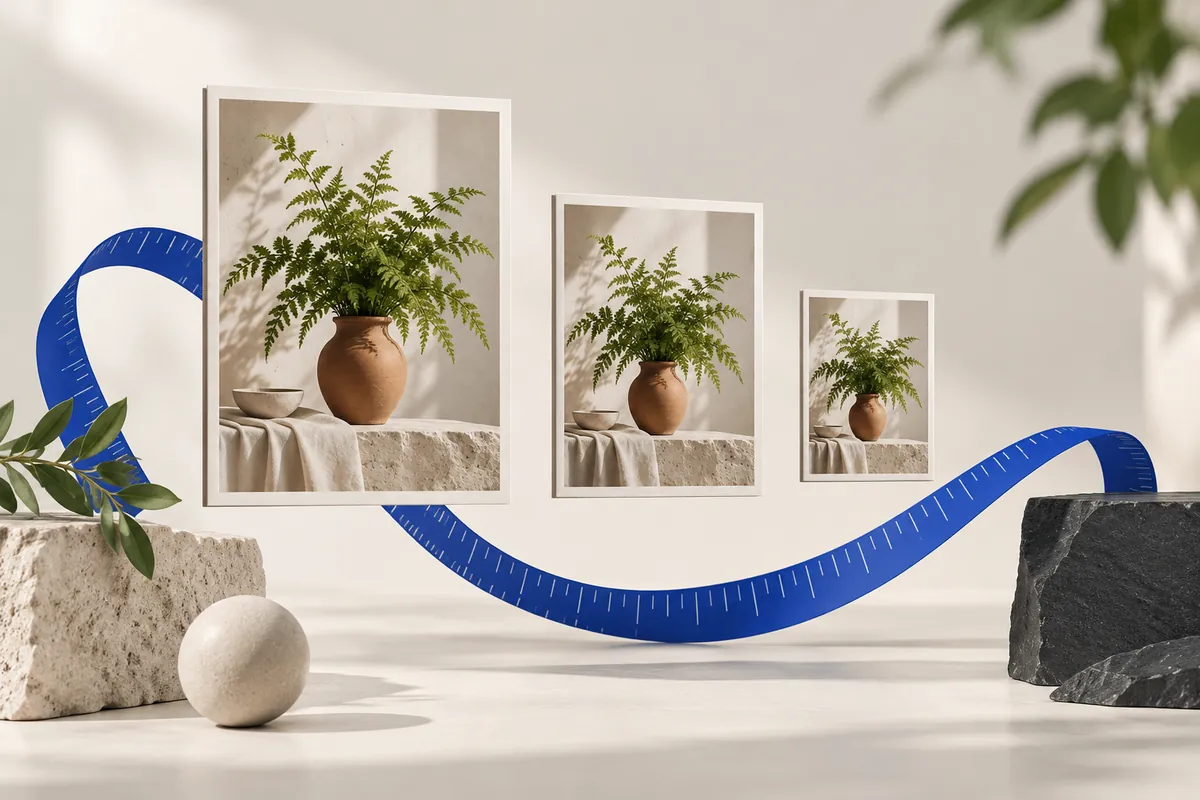
The following original geometric illustration and exports are supplied with this project. These are actual files, not estimated savings. The exported examples use JPEG quality 85. Your own images will have different byte counts; compare details as well as weight.

| Result | Width × Height | File size |
|---|---|---|
| Original | 4032 × 3024 | 225354 bytes |
| Try a sample image | 1200 × 900 | 36438 bytes |
| Fit within bounds | 1440 × 1080 | 41113 bytes |
| Fill & crop | 1920 × 1080 | 44272 bytes |
| Add padding | 1920 × 1080 | 44602 bytes |




Choose your next step
Exported images remove EXIF, GPS and XMP metadata. Processing uses SDR/sRGB.
A pilot batch makes the full run predictable
Choose a pilot that includes the exceptions, not just your easiest photo. Include the smallest source, the largest admitted source, a portrait, a landscape and any transparent artwork. Confirm the result for each. A configuration that works on five similar photographs may fail on a mixed collection because crop placement, alpha and upscaling have different consequences.
After processing, reconcile the input and success counts. A ZIP is a convenient container, not proof that every input succeeded. Open it and inspect representative files. Store the archive somewhere you control; the editor does not keep a cloud copy for later recovery. When a batch needs a different requirement, start from the originals and a fresh configuration.
Batch resizing should respect each original
One batch configuration does not imply one result shape. With a 1600 × 1600 fit box, a 4000 × 3000 landscape becomes 1600 × 1200, while a 3000 × 4000 portrait becomes 1200 × 1600. Each image keeps its own ratio. Use a padding canvas when outer dimensions need to match. Avoid applying one crop rectangle to unrelated compositions without checking each subject.
Process a small representative set first: one landscape, one portrait, one transparent graphic and your smallest source. Inspect those results before admitting the whole collection. Jobs run sequentially, and an unsupported file need not prevent supported files from finishing. The archive contains successful results, so compare the success count with the files you expected to receive.
Why local tools need honest resource limits
The compressed input is only part of the memory cost. A decoded 4000 × 3000 RGBA image represents 48000000 bytes before working buffers and the output are considered. A batch of large originals can therefore be demanding even when each file looks small on disk. Sequential processing reduces simultaneous work, but it cannot make a device’s memory unlimited.
Admission limits are 25 MiB per file, 24 megapixels, 8192 px per side, 50 files and 250 MiB of queued input. A job below those headline limits can still be rejected if its intermediate image buffers exceed the working budget. On a constrained device, use fewer files or a smaller source and keep the original elsewhere. Cancel and clear are useful controls, not signs that a larger job is guaranteed to succeed on retry.
The download is the final test
A preview is helpful, but the saved output is what the receiving app will use. Check its actual dimensions, MIME type and exact bytes. Open the file in an image viewer, inspect the important details at a sensible scale, and confirm that transparency or the chosen background behaves as expected. If you created a ZIP, open it and compare its successful entries with the expected count.
When a result fails, change the constraint that is actually responsible. Wrong shape calls for a geometry decision; unreadable text calls for more detail or less aggressive encoding; excessive bytes call for a permitted compression or dimension change. Keep each candidate separate until you choose the final one. The original remains your reliable starting point for every new export.
- Check the real width and height, not only the requested box.
- Compare exact bytes with the destination’s ceiling.
- Inspect faces, lettering, product edges and transparent boundaries.
- Save the chosen output and keep the original separately.
The concepts behind this page
These relationships explain why changing one setting can affect another. Use them to identify which constraint matters most for your image.
- Batch processing
- One settings configuration applied to admitted images in sequence.
- ZIP download
- One archive containing the successfully processed outputs.
- Local processing
- Image operations performed in browser memory on your device.
- Aspect ratio
- The relationship between width and height, such as 4:3 or 16:9.
- Output canvas
- The complete exported rectangle, including any padding.
- Pixel dimensions
- The width and height of the decoded image grid.
- File size in bytes
- The amount of data in the encoded download, measured after processing.
- Alpha channel
- Per-pixel opacity, including partially transparent edges.
- Pixel dimensions determine the proportions described by Aspect ratio.
- Batch processing can deliver successful results through a ZIP download.
Questions worth asking before you export
Why is the output smaller than the dimensions I entered?
Fit treats both dimensions as maximum bounds and preserves the original ratio. It can therefore produce a smaller rectangle. Use padding for an exact canvas with the complete image, or cover when you accept removing edges.
Does quality 100 make the export lossless?
No. JPEG quality 100 is still an encoding setting, not a promise of identical source pixels. Resizing itself also changes the grid. Preserve the original when you need an unchanged archive.
Can enlargement recover missing text or faces?
No. Enlargement estimates new pixels and cannot reliably reconstruct details absent from the source. Find a higher-resolution original when those details are important.
Sources and how to verify the examples
The numerical examples on this page come from explicit geometry calculations and the project’s synthetic files. Hypothetical byte counts illustrate acceptance rules; downloadable sample counts describe those specific files. The references below explain the underlying formats and browser export API, not a guaranteed saving or acceptance by another service.
Ready to prepare your image?
Keep the original, choose one clear requirement, and inspect the exported file. A useful result meets its destination’s rules and keeps the details that matter.
Back to the image tools