JPG → PNG
PNG supports transparency. Converting a JPEG cannot recover lost detail or remove its background, and the file may be larger.
Open the tool; select PNG output.Choose a format, a file size or a photo layout. Every tool works with JPG, PNG and still WebP images on your device.
Six format changes are available in the existing editors. Each link opens the destination format’s tool; choose that output format in Advanced settings before processing. The link does not apply a conversion automatically.
PNG supports transparency. Converting a JPEG cannot recover lost detail or remove its background, and the file may be larger.
Open the tool; select PNG output.Still WebP supports transparency with adjustable output quality. Verify that the receiving website accepts WebP.
Open the tool; select WebP output.JPEG flattens transparency onto the selected background and uses lossy compression. Check fine detail and actual bytes.
Open the tool; select JPEG output.Still WebP supports transparency with adjustable output quality. Verify that the receiving website accepts WebP.
Open the tool; select WebP output.JPEG flattens transparency onto the selected background and uses lossy compression. Check fine detail and actual bytes.
Open the tool; select JPEG output.PNG supports transparency. Converting a JPEG cannot recover lost detail or remove its background, and the file may be larger.
Open the tool; select PNG output.Supports JPG/JPEG, PNG and still WebP. Animated images, GIF, HEIC, AVIF, SVG and PDF are not supported. Up to 25 MiB per file, 24 MP, 8192 px per side, 50 files and 250 MiB per queue; device memory can impose lower limits. Images stay local; downloads strip source metadata.
Change pixel dimensions or scale by percentage. Batch mode shares settings and exports a ZIP.
Open the editor for a photo, transparent graphic or still WebP. Output format is a separate setting.
Adjust encoding quality or request a maximum in KB/MB. Verify measured bytes before using the download.
Select a crop or preserve the whole picture with padding. Check composition and transparency.
Read original width, height, aspect ratio, format and bytes without changing the image.
Choose padding to keep the full image or crop to fill the canvas. Enlargement requires your explicit choice.
These are maximum byte targets, not guaranteed exact sizes. Inspect whether the result met the target.
A practical field guide to image size, composition and file weight. Read from start to finish, or jump straight to the decision you need to make.
The tools are different entry points into a shared image workflow. Use the resizer for geometry, the compressor for encoding weight, the size-limit tool for a byte ceiling, and the checker when you first need measurements. Crop and square tools address framing. Format-specific entries help you concentrate on photographic detail or transparency rather than treating every image as identical.
Presets initialize a specific size or ceiling; they do not establish a universal platform requirement. A 1080 square is a pixel canvas. A 100 KB preset is a maximum stored weight. You can still review settings and choose the permitted tradeoff. If the project combines both requirements, set geometry and then test bytes rather than looking for a separate page for every possible combination.
An image is ready when it meets the place where it will be used. A page may ask for a maximum width; an upload form may enforce a byte ceiling; a layout may need an exact rectangle. Those requirements are related, but they are not interchangeable. Write down the destination’s actual instructions before you change the source. “Make it smaller” is a direction. “Keep the complete photo within 1600 × 1600 and below 500000 bytes” is a testable result.
Separate the non-negotiable rules from your preferences. If every product must stay visible, cropping is not an acceptable shortcut. If a form requires PNG, switching to JPEG is not a solution. If a fixed canvas is mandatory, fit mode alone may leave you with the wrong dimensions. The best settings are the ones that satisfy the hard rules while keeping useful detail.
Use fit mode when neither side may exceed a limit and the whole subject must remain visible.
Use padding to keep the entire image, or cover when you deliberately accept a crop.
Set a file-size ceiling and verify the encoded output independently of its dimensions.
Fit mode promises a complete image inside a bounding box. Cover promises a filled rectangle and accepts discarded edges. Padding promises an exact canvas while keeping the complete image inside it. These modes answer different questions. Choosing the wrong one can produce a technically valid download that still fails your layout: too narrow, too cropped or surrounded by unexpected empty space.
Use the same source to compare the modes. Our 4032 × 3024 illustration is 4:3, while 1920 × 1080 is 16:9. Fit produces 1440 × 1080. Cover fills 1920 × 1080 by removing the top and bottom. Padding puts the 1440 × 1080 image on a 1920 × 1080 canvas, leaving 240 pixels on each side. The source did not change; your definition of a successful output did.


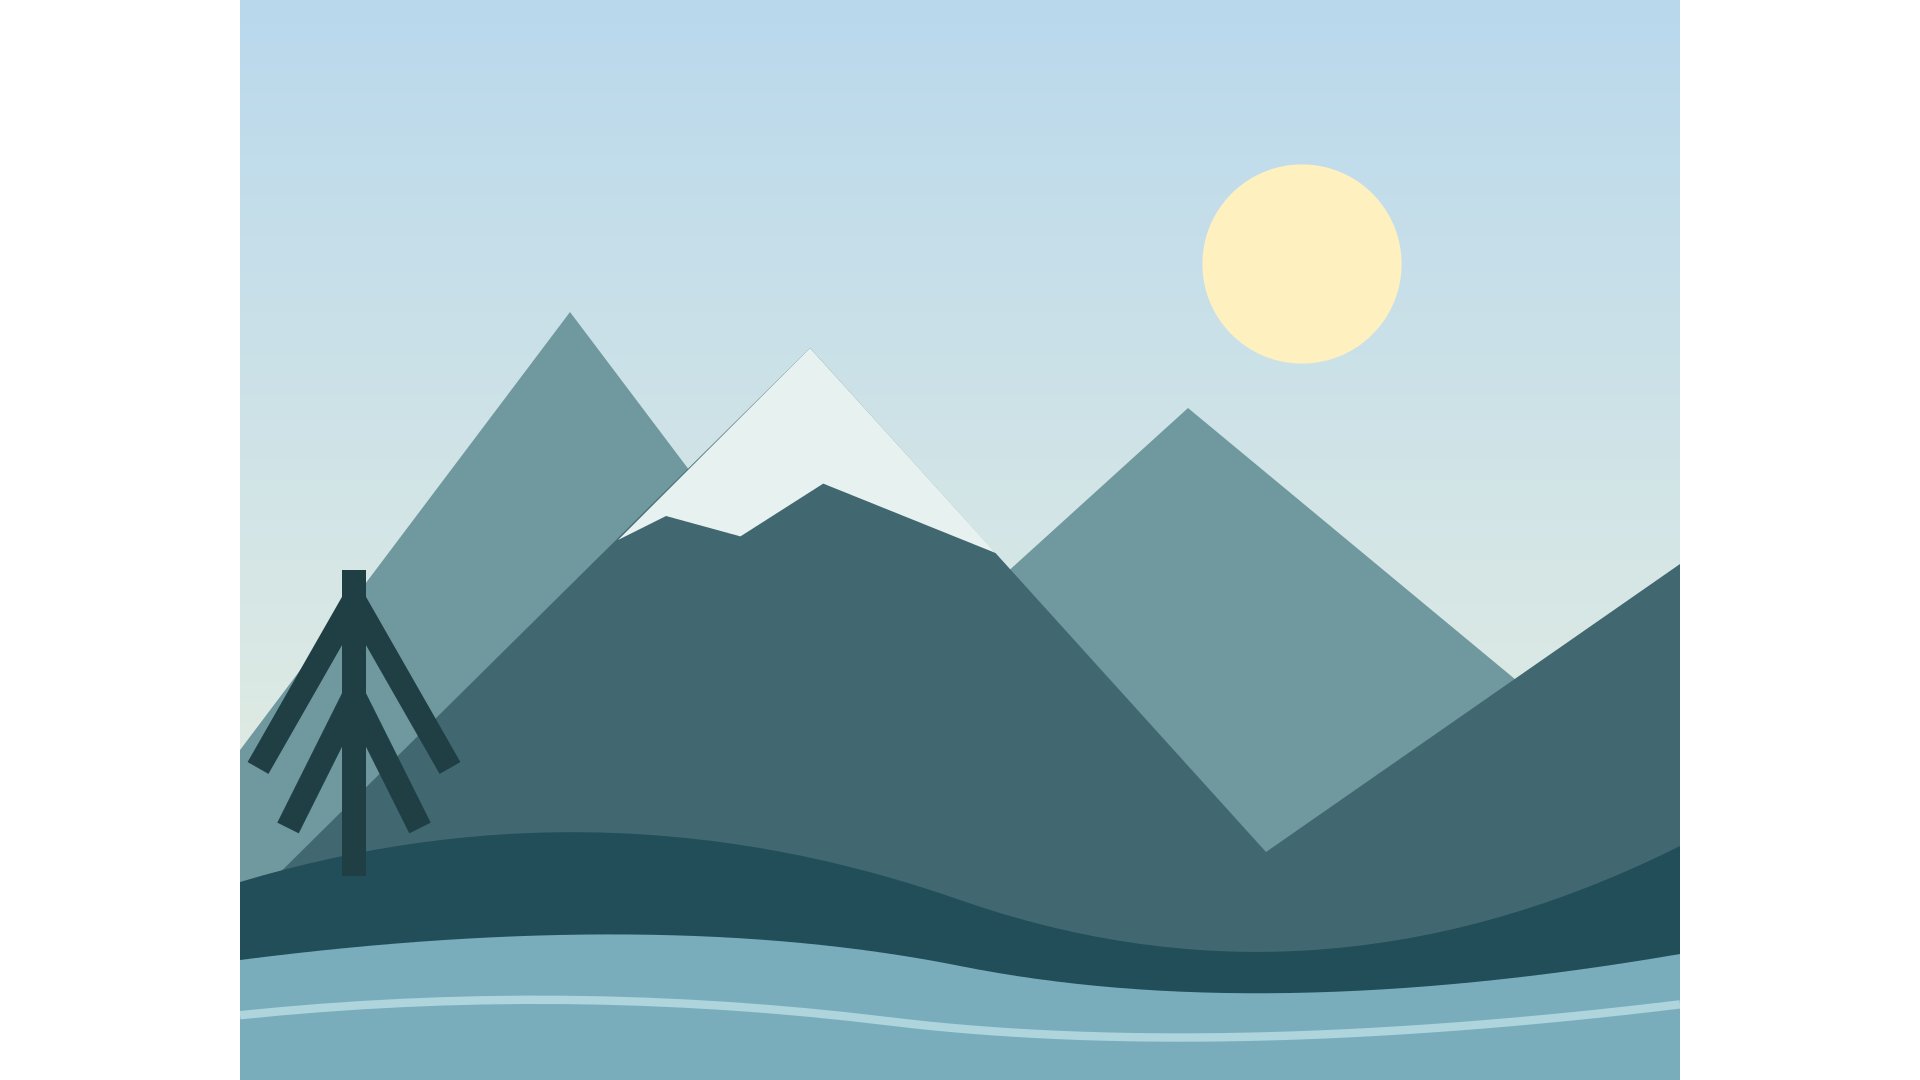
Photographs, transparent logos and screenshots stress an encoder in different ways. Start with the content and the destination’s accepted formats, then compare exports. JPEG is a practical choice for ordinary photographs when transparency is unnecessary. PNG is useful when alpha or crisp graphic boundaries matter. Static WebP is another supported option when the destination accepts it. A fashionable extension is not a substitute for checking the real file.
The format is a real encoding choice here, not a filename change. A JPEG output is encoded as JPEG, and the result reports its actual MIME type and bytes. Renaming photo.png to photo.jpg in a file manager does not convert the contents. Keep an original and compare results at the same display scale before deciding that one format is better for this particular image.
| Format | Useful starting point | Check carefully |
|---|---|---|
| JPEG | Photos without transparency | Fine text, artifacts, background color |
| PNG | Alpha, diagrams and screenshots | Exact bytes; lossless does not mean tiny |
| Static WebP | Compatible destinations and alpha | Acceptance by the receiving app |
One batch configuration does not imply one result shape. With a 1600 × 1600 fit box, a 4000 × 3000 landscape becomes 1600 × 1200, while a 3000 × 4000 portrait becomes 1200 × 1600. Each image keeps its own ratio. Use a padding canvas when outer dimensions need to match. Avoid applying one crop rectangle to unrelated compositions without checking each subject.
Process a small representative set first: one landscape, one portrait, one transparent graphic and your smallest source. Inspect those results before admitting the whole collection. Jobs run sequentially, and an unsupported file need not prevent supported files from finishing. The archive contains successful results, so compare the success count with the files you expected to receive.
A preview is helpful, but the saved output is what the receiving app will use. Check its actual dimensions, MIME type and exact bytes. Open the file in an image viewer, inspect the important details at a sensible scale, and confirm that transparency or the chosen background behaves as expected. If you created a ZIP, open it and compare its successful entries with the expected count.
When a result fails, change the constraint that is actually responsible. Wrong shape calls for a geometry decision; unreadable text calls for more detail or less aggressive encoding; excessive bytes call for a permitted compression or dimension change. Keep each candidate separate until you choose the final one. The original remains your reliable starting point for every new export.
These relationships explain why changing one setting can affect another. Use them to identify which constraint matters most for your image.
Fit treats both dimensions as maximum bounds and preserves the original ratio. It can therefore produce a smaller rectangle. Use padding for an exact canvas with the complete image, or cover when you accept removing edges.
No. JPEG quality 100 is still an encoding setting, not a promise of identical source pixels. Resizing itself also changes the grid. Preserve the original when you need an unchanged archive.
No. Enlargement estimates new pixels and cannot reliably reconstruct details absent from the source. Find a higher-resolution original when those details are important.
The numerical examples on this page come from explicit geometry calculations and the project’s synthetic files. Hypothetical byte counts illustrate acceptance rules; downloadable sample counts describe those specific files. The references below explain the underlying formats and browser export API, not a guaranteed saving or acceptance by another service.
Keep the original, choose one clear requirement, and inspect the exported file. A useful result meets its destination’s rules and keeps the details that matter.
Back to the image tools