Choose your image
Open a JPG, PNG or WebP from your device. Your file stays with you.
Resize logos, screenshots and graphics while keeping transparent backgrounds.
or browse your files to get started
JPG, PNG & WebP · Up to 25 MiB each
You can also paste an imageMaximum dimensions. The whole image stays visible.
1 KB = 1,000 bytes · 1 MB = 1,000,000 bytes
Available for fit mode; exact crop/padding dimensions stay fixed.
Enlargement does not restore detail.
Processed locally. No uploads, no account.
50 files · 250 MiB total · 24 MP · 8192 px per side
Open a JPG, PNG or WebP from your device. Your file stays with you.
Set your dimensions, choose how to fit the image, and check the preview.
Process your image, review the actual size, and download the result.
A few other ways to get your images ready.
A practical field guide to image size, composition and file weight. Read from start to finish, or jump straight to the decision you need to make.

PNG is often chosen for a reason: a transparent logo, a diagram with sharp boundaries or a screenshot someone needs to read. Identify that reason before reducing the file. A logo may need a smaller canvas but unchanged transparency. A chart may need a crop of unused surrounding space more than a large scale reduction. Preserve the meaning of the graphic, not just its extension.
Set the dimensions and transparency first. After the normal export, compare exact bytes and try the optional lossless optimization if useful. The JPEG quality control is not a PNG weight slider. When a hard PNG limit remains unreachable, your legitimate options depend on the destination: fewer pixels, simpler source artwork prepared elsewhere, or an explicitly accepted format change. No single setting can promise to satisfy every PNG ceiling.
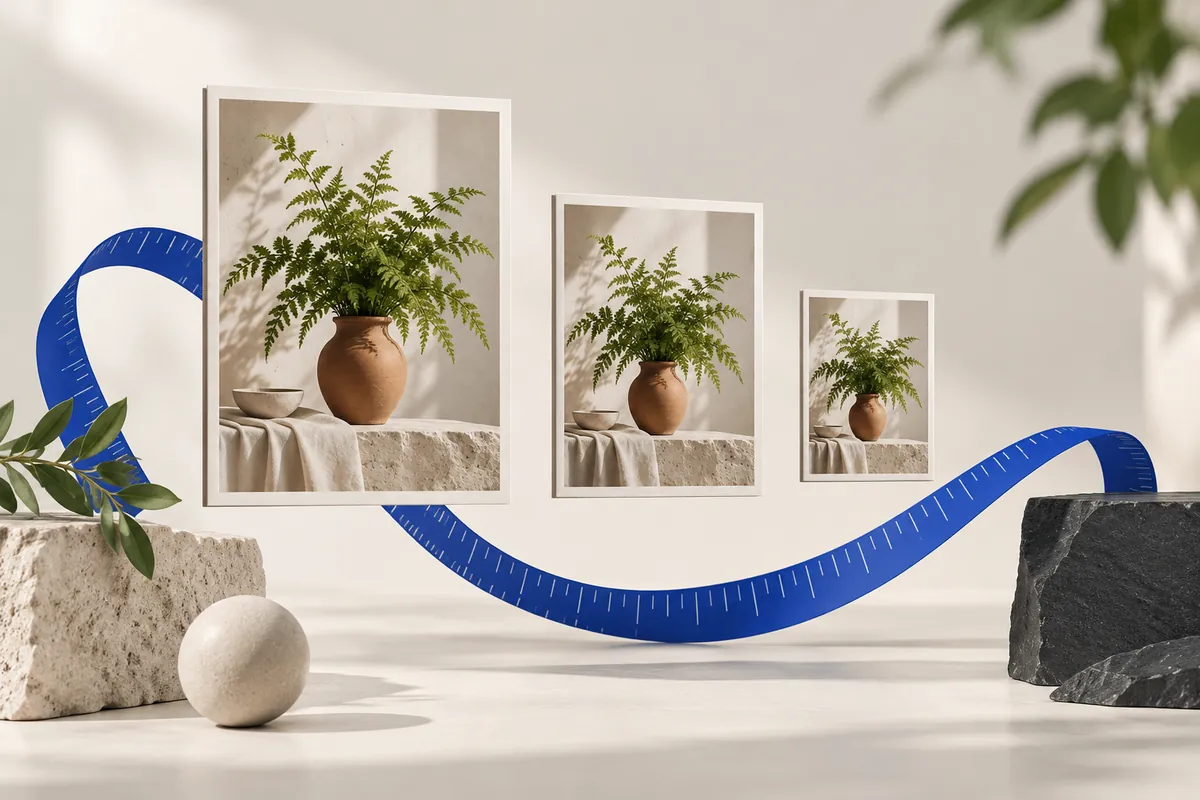
Width-only sizing is convenient when the final height is flexible. Two-sided fit is convenient for a mixed collection that must stay within a common maximum. Percentage sizing is convenient when you want the same scale reduction for each source. A 50% width and height does not mean 50% as many pixels: it leaves 25% of the original pixel count, because both sides shrink.
For example, 4000 × 3000 at 50% becomes 2000 × 1500: 12 million pixels become 3 million. This calculation says nothing exact about the JPEG byte reduction. Also check rounding on odd dimensions. The result is an integer pixel grid, so a computed fraction of a pixel must be rounded. Read the measured output instead of expecting every ratio calculation to land on whole numbers.
Transparent space is not white space. An alpha channel records how opaque each pixel is, including soft edges around a logo or illustration. PNG and static WebP outputs can retain this channel. JPEG cannot: the image must be composited onto a background. Choose that background deliberately, especially when the final page is dark or the artwork has pale lettering.
Inspect edges against both light and dark surfaces. A logo that looks correct on white can reveal a halo on navy. Padding has the same choice: keep its empty space transparent, or fill it with a chosen color. Once alpha has been flattened into an opaque file, switching the extension back to PNG cannot reconstruct the missing transparency. Return to the transparent original instead.
Resizing changes pixel values along edges and gradients. A compact source may use a palette, while a browser export may use a fuller color representation. The original may also have been carefully optimized. Fewer pixels therefore do not guarantee fewer stored bytes. Compare the real source and output sizes rather than assuming a particular saving from the scale percentage.
Try the optional lossless optimizer when PNG is required. “Lossless” describes the optimization of the already exported PNG: it must preserve that image’s decoded pixels. It does not undo changes introduced by resizing, and it does not guarantee a smaller file for every input. If the optimized export is not smaller, retaining the valid native output is preferable to claiming a saving that did not happen.
Small lettering is often the first useful detail to disappear. A screenshot reduced until it weighs almost nothing may no longer communicate the error message or chart values it was meant to show. Start by removing irrelevant surroundings with a deliberate crop. Then reduce dimensions gradually and check the smallest line of text at the size a recipient will actually view.
PNG is a useful starting point for crisp interface graphics, but compare its measured weight with accepted alternatives. JPEG can add visible artifacts around high-contrast letters. An image can be geometrically correct and still fail as a readable document. Before sharing, inspect the visible content for personal information as well: removing metadata does not remove an email address, chat message or account number drawn into the pixels.
A preview is helpful, but the saved output is what the receiving app will use. Check its actual dimensions, MIME type and exact bytes. Open the file in an image viewer, inspect the important details at a sensible scale, and confirm that transparency or the chosen background behaves as expected. If you created a ZIP, open it and compare its successful entries with the expected count.
When a result fails, change the constraint that is actually responsible. Wrong shape calls for a geometry decision; unreadable text calls for more detail or less aggressive encoding; excessive bytes call for a permitted compression or dimension change. Keep each candidate separate until you choose the final one. The original remains your reliable starting point for every new export.
These relationships explain why changing one setting can affect another. Use them to identify which constraint matters most for your image.
JPEG cannot retain alpha, and disabling transparency also flattens it. Choose PNG or static WebP with transparency enabled, starting from the transparent original. Converting an already opaque JPEG back to PNG cannot recover alpha.
Resampling, palette differences and encoder settings can change storage efficiency. Compare actual bytes and try the optional lossless optimizer. Fewer pixels alone do not guarantee a smaller encoded file.
No. JPEG quality 100 is still an encoding setting, not a promise of identical source pixels. Resizing itself also changes the grid. Preserve the original when you need an unchanged archive.
The numerical examples on this page come from explicit geometry calculations and the project’s synthetic files. Hypothetical byte counts illustrate acceptance rules; downloadable sample counts describe those specific files. The references below explain the underlying formats and browser export API, not a guaranteed saving or acceptance by another service.
Keep the original, choose one clear requirement, and inspect the exported file. A useful result meets its destination’s rules and keeps the details that matter.
Back to the image tools