Choose your image
Open a JPG, PNG or WebP from your device. Your file stays with you.
Keep what matters. Choose a crop, adjust its position and save just the part you need.
or browse your files to get started
JPG, PNG & WebP · Up to 25 MiB each
You can also paste an imageMaximum dimensions. The whole image stays visible.
1 KB = 1,000 bytes · 1 MB = 1,000,000 bytes
Available for fit mode; exact crop/padding dimensions stay fixed.
Enlargement does not restore detail.
Processed locally. No uploads, no account.
50 files · 250 MiB total · 24 MP · 8192 px per side
Open a JPG, PNG or WebP from your device. Your file stays with you.
Set your dimensions, choose how to fit the image, and check the preview.
Process your image, review the actual size, and download the result.
A few other ways to get your images ready.
A practical field guide to image size, composition and file weight. Read from start to finish, or jump straight to the decision you need to make.
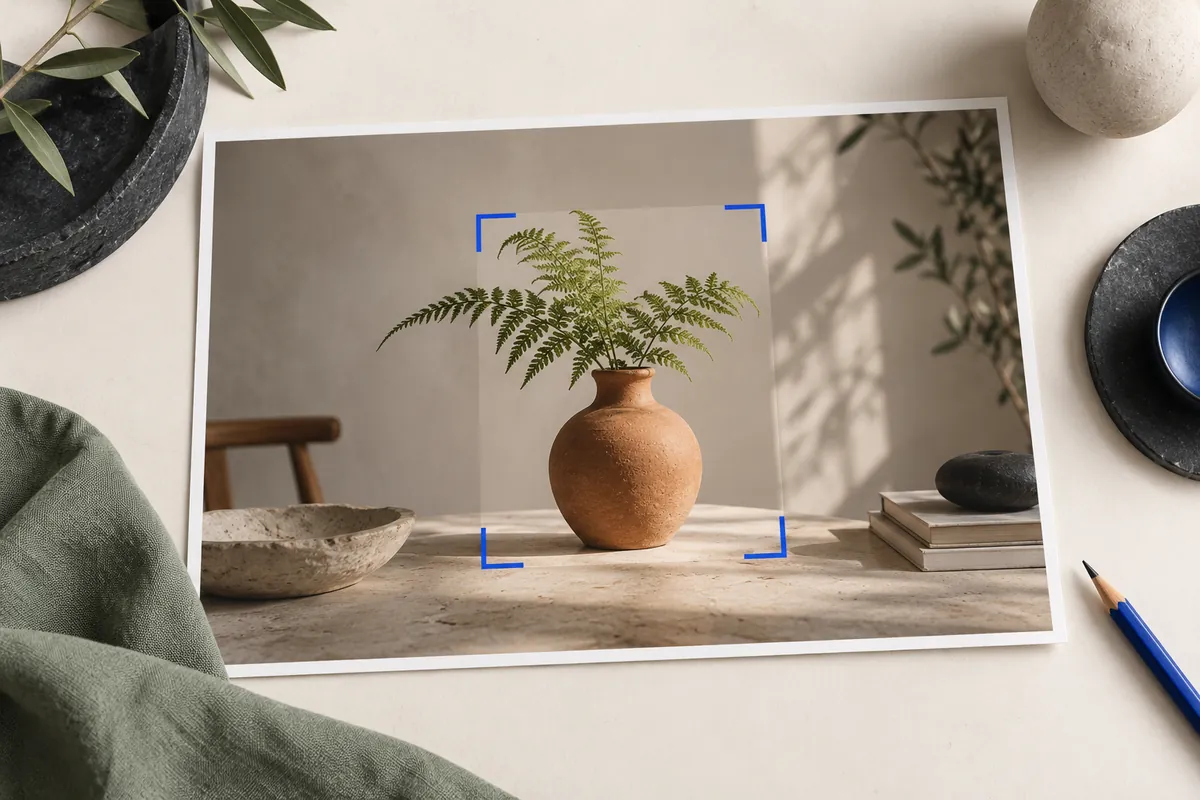
Cropping changes what a viewer sees, not only how large they see it. Decide what belongs in the image: the whole object, a face with breathing room, a chart without irrelevant menus, or a horizon with a deliberate balance of sky and ground. Select a ratio if the destination needs one, then position the rectangle around the meaningful content. The source outside that rectangle will not be included in the export.
A crop reduces the available source area before any scale change. Check that the selected rectangle contains enough pixels for the intended output. Move the rectangle with the pointer or numeric controls and inspect the exported edges. Do not treat cropping as redaction of every sensitive detail: anything left inside the selected pixels remains part of the delivered image.
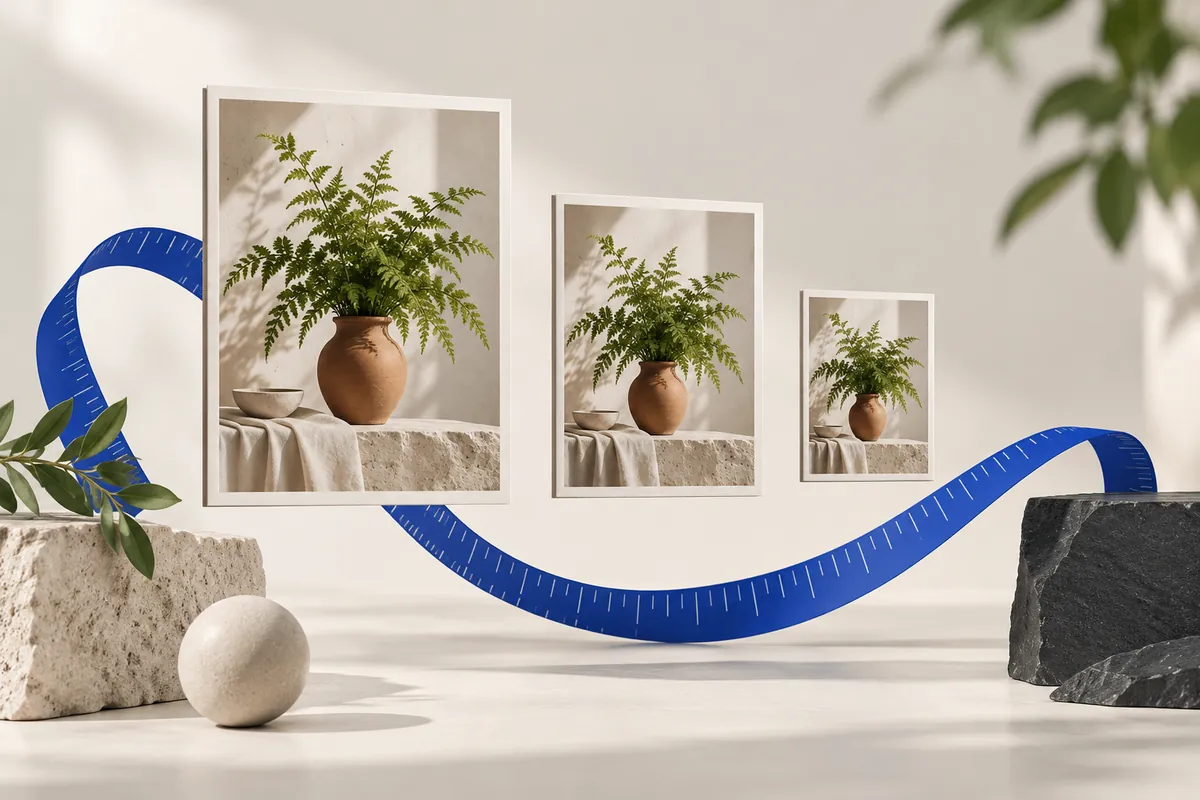
Aspect ratio is width divided by height. A 4000 × 3000 photograph has a 4:3 ratio; a 1200 × 800 photograph has a 3:2 ratio. Changing both sides by the same scale factor preserves this relationship. Changing them independently can stretch a face, widen a bottle or turn a circle into an oval. This editor uses proportional fitting, cropping or padding instead of treating distortion as an acceptable resize.
When you only know the desired width, leave the other side automatic. For a 4000 × 3000 source, width 1600 gives height 1200. If the destination instead needs 1600 × 900, you are also asking for a new ratio. Decide whether the missing space should come from cropping the image or adding space around it. A ratio decision is a composition decision, not just a multiplication.
A crop selects which information belongs in the final frame. The center of the source is only a starting point: a face, product label or horizon may sit elsewhere. Look at the subject and leave enough breathing room around it. For a wide cover image, check both the top and bottom. For a square made from a landscape, check the left and right before downloading.
Use the numeric rectangle when placement needs to be repeatable. X and Y locate its upper-left corner in the normalized source; width and height describe the selected area. Arrow keys can move the selection, and the focus controls adjust cover placement. These controls do not recognize faces automatically. A crop that is mathematically centered still needs a human composition check.
Fit mode promises a complete image inside a bounding box. Cover promises a filled rectangle and accepts discarded edges. Padding promises an exact canvas while keeping the complete image inside it. These modes answer different questions. Choosing the wrong one can produce a technically valid download that still fails your layout: too narrow, too cropped or surrounded by unexpected empty space.
Use the same source to compare the modes. Our 4032 × 3024 illustration is 4:3, while 1920 × 1080 is 16:9. Fit produces 1440 × 1080. Cover fills 1920 × 1080 by removing the top and bottom. Padding puts the 1440 × 1080 image on a 1920 × 1080 canvas, leaving 240 pixels on each side. The source did not change; your definition of a successful output did.



Upscaling estimates new samples between existing ones. It can make an image fit a larger rectangle, but it cannot reliably recover letters, eyelashes or texture that the source never recorded. A 600 px image enlarged to 2400 px has sixteen times as many output pixels when both sides scale by four. It does not have sixteen times as much photographic information.
Leave enlargement off unless the destination requires it and you accept the tradeoff. If a crop needs more pixels than the selected source area provides, the editor can reject it rather than silently enlarge. For important artwork, look for a higher-resolution original or a suitable vector source. This tool does not offer AI reconstruction, vector tracing or a professional restoration workflow.
A preview is helpful, but the saved output is what the receiving app will use. Check its actual dimensions, MIME type and exact bytes. Open the file in an image viewer, inspect the important details at a sensible scale, and confirm that transparency or the chosen background behaves as expected. If you created a ZIP, open it and compare its successful entries with the expected count.
When a result fails, change the constraint that is actually responsible. Wrong shape calls for a geometry decision; unreadable text calls for more detail or less aggressive encoding; excessive bytes call for a permitted compression or dimension change. Keep each candidate separate until you choose the final one. The original remains your reliable starting point for every new export.
These relationships explain why changing one setting can affect another. Use them to identify which constraint matters most for your image.
Fit treats both dimensions as maximum bounds and preserves the original ratio. It can therefore produce a smaller rectangle. Use padding for an exact canvas with the complete image, or cover when you accept removing edges.
No. JPEG quality 100 is still an encoding setting, not a promise of identical source pixels. Resizing itself also changes the grid. Preserve the original when you need an unchanged archive.
No. Enlargement estimates new pixels and cannot reliably reconstruct details absent from the source. Find a higher-resolution original when those details are important.
The numerical examples on this page come from explicit geometry calculations and the project’s synthetic files. Hypothetical byte counts illustrate acceptance rules; downloadable sample counts describe those specific files. The references below explain the underlying formats and browser export API, not a guaranteed saving or acceptance by another service.
Keep the original, choose one clear requirement, and inspect the exported file. A useful result meets its destination’s rules and keeps the details that matter.
Back to the image tools