Choose your image
Open a JPG, PNG or WebP from your device. Your file stays with you.
The right size. Without the extra steps. Resize your images right in your browser.
or browse your files to get started
JPG, PNG & WebP · Up to 25 MiB each
You can also paste an imageMaximum dimensions. The whole image stays visible.
1 KB = 1,000 bytes · 1 MB = 1,000,000 bytes
Available for fit mode; exact crop/padding dimensions stay fixed.
Enlargement does not restore detail.
Processed locally. No uploads, no account.
50 files · 250 MiB total · 24 MP · 8192 px per side
Open a JPG, PNG or WebP from your device. Your file stays with you.
Set your dimensions, choose how to fit the image, and check the preview.
Process your image, review the actual size, and download the result.
A few other ways to get your images ready.
A practical field guide to image size, composition and file weight. Read from start to finish, or jump straight to the decision you need to make.
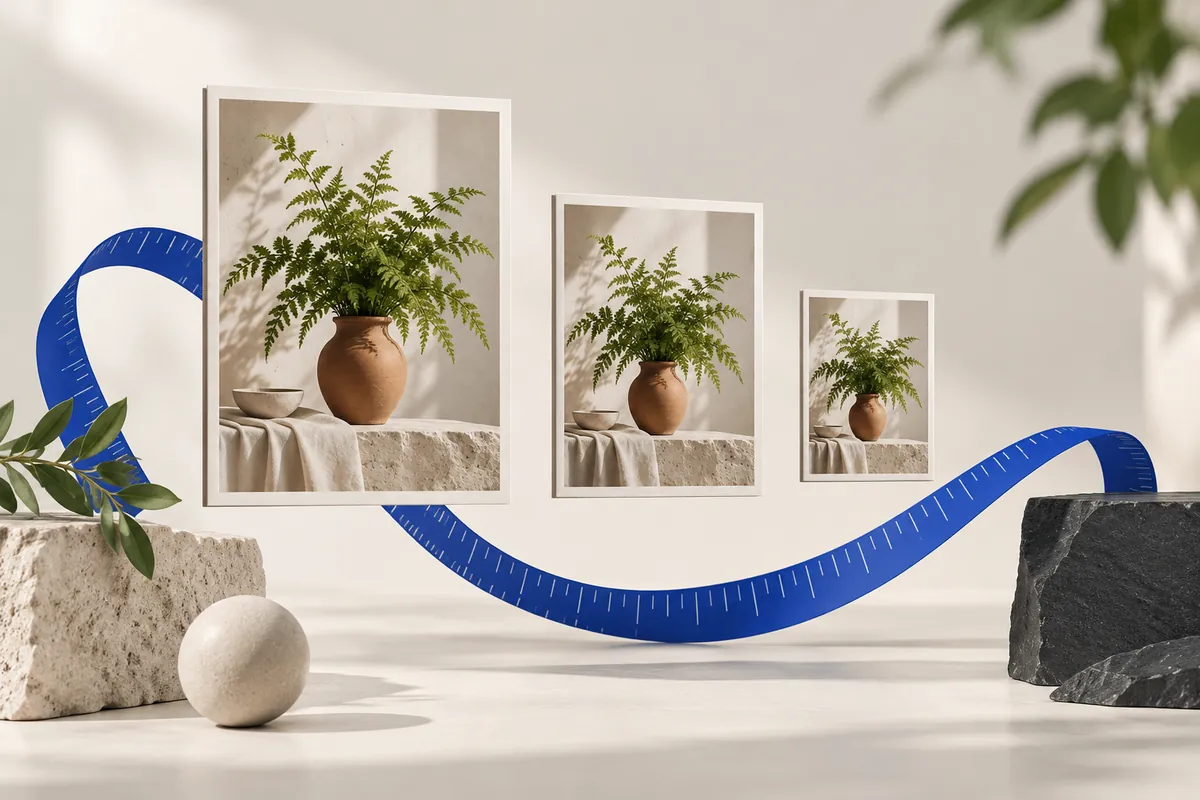
The original on your camera roll and the file your project needs are usually different things. A camera original preserves room for editing. A delivery image serves a particular place: an article, a catalog tile, a presentation, a message or an upload field. The delivery copy should carry enough detail for that place without forcing the reader to download data that adds nothing to the experience. That is the practical purpose of resizing.
The difficulty is that “size” can mean several things. A photograph can be too wide for a layout, too heavy for a form, too tightly framed for a product, or too small to read. Each problem points to a different control. This page takes you from those requirements to a file you can verify. You can use the editor immediately, then return to the relevant section whenever a setting or an unexpected result needs an explanation.
You do not have to make every decision at once. Preserve the original, identify the single most important restriction, and make a first export. Measure it, inspect it, and adjust one variable at a time. That sequence makes it easier to understand why the result improved. It also prevents a common trap: shrinking dimensions, lowering quality and cropping simultaneously, then being unable to tell which change removed the detail you needed.
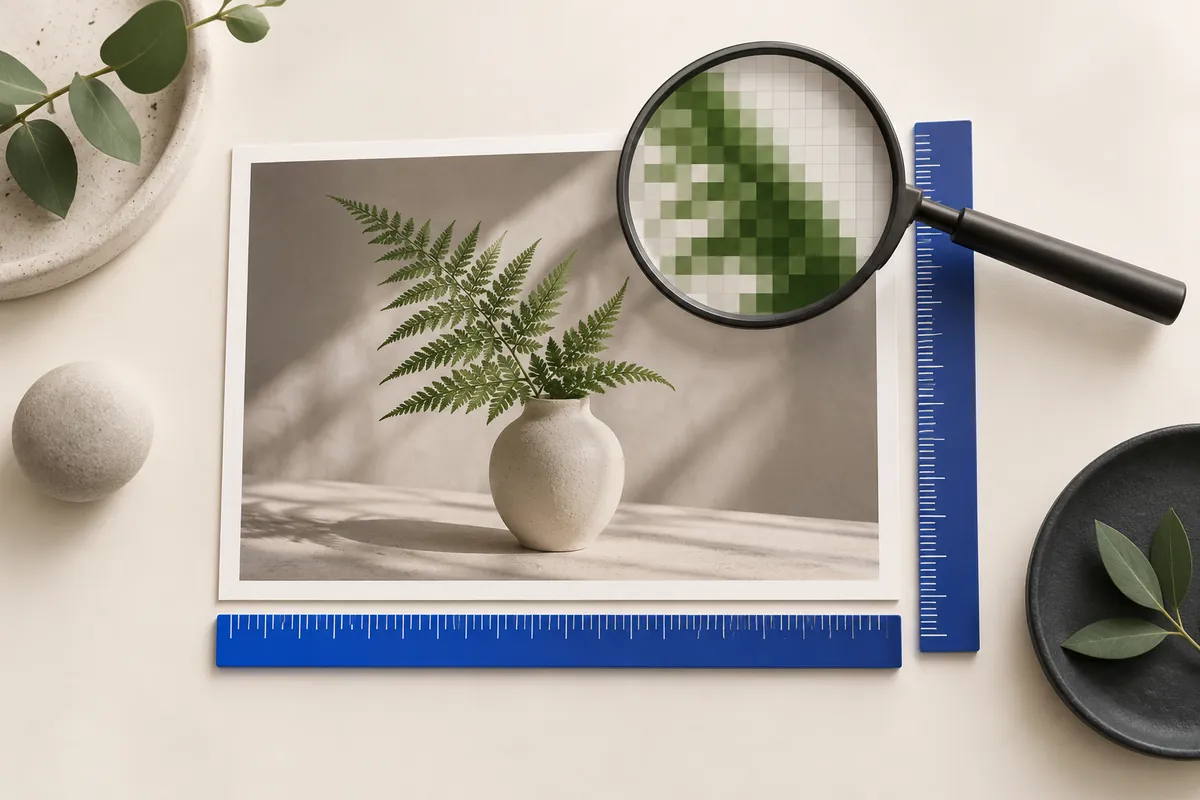
An image is ready when it meets the place where it will be used. A page may ask for a maximum width; an upload form may enforce a byte ceiling; a layout may need an exact rectangle. Those requirements are related, but they are not interchangeable. Write down the destination’s actual instructions before you change the source. “Make it smaller” is a direction. “Keep the complete photo within 1600 × 1600 and below 500000 bytes” is a testable result.
Separate the non-negotiable rules from your preferences. If every product must stay visible, cropping is not an acceptable shortcut. If a form requires PNG, switching to JPEG is not a solution. If a fixed canvas is mandatory, fit mode alone may leave you with the wrong dimensions. The best settings are the ones that satisfy the hard rules while keeping useful detail.
Use fit mode when neither side may exceed a limit and the whole subject must remain visible.
Use padding to keep the entire image, or cover when you deliberately accept a crop.
Set a file-size ceiling and verify the encoded output independently of its dimensions.
Treat your first export as a candidate, not as an irreversible decision. The editor keeps the source as the starting point for another processing run. Changing the configuration lets you compare a different result without repeatedly feeding a previous JPEG back through compression. Keep notes outside the tool if several deliverables need different settings: purpose, dimensions, fitting mode, format and maximum bytes are the useful fields.
A 1920 × 1080 image has 2073600 pixels, regardless of whether it is stored as JPEG, PNG or WebP. That count describes its decoded grid. The download’s byte count describes the compressed representation of that grid. A flat illustration and a grainy photograph can share the same dimensions while producing very different file weights. Texture, noise, alpha and encoding settings all change what the encoder has to store.
This distinction explains two common surprises. A smaller image can still weigh more after it is re-encoded with different settings. A tiny compressed file can still need substantial memory when decoded. Evaluate dimensions, stored bytes and visual detail separately. None of those measurements can stand in for the other two.
Aspect ratio is width divided by height. A 4000 × 3000 photograph has a 4:3 ratio; a 1200 × 800 photograph has a 3:2 ratio. Changing both sides by the same scale factor preserves this relationship. Changing them independently can stretch a face, widen a bottle or turn a circle into an oval. This editor uses proportional fitting, cropping or padding instead of treating distortion as an acceptable resize.
When you only know the desired width, leave the other side automatic. For a 4000 × 3000 source, width 1600 gives height 1200. If the destination instead needs 1600 × 900, you are also asking for a new ratio. Decide whether the missing space should come from cropping the image or adding space around it. A ratio decision is a composition decision, not just a multiplication.
Fit mode promises a complete image inside a bounding box. Cover promises a filled rectangle and accepts discarded edges. Padding promises an exact canvas while keeping the complete image inside it. These modes answer different questions. Choosing the wrong one can produce a technically valid download that still fails your layout: too narrow, too cropped or surrounded by unexpected empty space.
Use the same source to compare the modes. Our 4032 × 3024 illustration is 4:3, while 1920 × 1080 is 16:9. Fit produces 1440 × 1080. Cover fills 1920 × 1080 by removing the top and bottom. Padding puts the 1440 × 1080 image on a 1920 × 1080 canvas, leaving 240 pixels on each side. The source did not change; your definition of a successful output did.



Width-only sizing is convenient when the final height is flexible. Two-sided fit is convenient for a mixed collection that must stay within a common maximum. Percentage sizing is convenient when you want the same scale reduction for each source. A 50% width and height does not mean 50% as many pixels: it leaves 25% of the original pixel count, because both sides shrink.
For example, 4000 × 3000 at 50% becomes 2000 × 1500: 12 million pixels become 3 million. This calculation says nothing exact about the JPEG byte reduction. Also check rounding on odd dimensions. The result is an integer pixel grid, so a computed fraction of a pixel must be rounded. Read the measured output instead of expecting every ratio calculation to land on whole numbers.
Photographs, transparent logos and screenshots stress an encoder in different ways. Start with the content and the destination’s accepted formats, then compare exports. JPEG is a practical choice for ordinary photographs when transparency is unnecessary. PNG is useful when alpha or crisp graphic boundaries matter. Static WebP is another supported option when the destination accepts it. A fashionable extension is not a substitute for checking the real file.
The format is a real encoding choice here, not a filename change. A JPEG output is encoded as JPEG, and the result reports its actual MIME type and bytes. Renaming photo.png to photo.jpg in a file manager does not convert the contents. Keep an original and compare results at the same display scale before deciding that one format is better for this particular image.
| Format | Useful starting point | Check carefully |
|---|---|---|
| JPEG | Photos without transparency | Fine text, artifacts, background color |
| PNG | Alpha, diagrams and screenshots | Exact bytes; lossless does not mean tiny |
| Static WebP | Compatible destinations and alpha | Acceptance by the receiving app |
A JPEG quality value of 85 does not mean that 85% of the source survives. It is an encoder setting, and its visual effect depends on the image and the encoder. Start with a moderate high-quality export, inspect important details, then lower the setting only as far as your use case allows. Skin, hair, small lettering, foliage and smooth gradients are useful places to look for artifacts.
Dimensions and quality solve different problems. A 4000 px photo at very low quality may contain lots of pixels but weak detail. A 1000 px photo at high quality may look clean at its intended size but cannot supply a large print. Choose a sensible pixel grid first; then use quality to control encoding. Even quality 100 is not a guarantee that a JPEG export is lossless.
A useful reduction removes surplus data while preserving the reason someone will look at the image. In a landscape, the important detail might be a distant sign. In a product photo, it might be a label, connector or texture. In a screenshot, it is often the smallest line of text. Evaluate that detail before celebrating a low byte count. An unreadable screenshot is not a successful optimization, even if an upload form accepts it.
Compare candidates at their intended viewing size as well as at 100% zoom. Pixel-level inspection reveals artifacts, but a normal-size view reveals whether the image communicates. If you are making a thumbnail, judge the thumbnail. If you are preparing a large diagram for reading, judge the text. This is why one universal width or one quality setting cannot be the correct answer for every image.
You can also make separate delivery copies for separate audiences. A lightweight preview can help someone decide whether they need the full original. A catalog tile can provide consistent framing, while a larger product view retains detail. Export each from the original and give the destination the version it needs. The objective is an appropriate file for a clear purpose, rather than the smallest possible file in isolation.
A maximum file size is an acceptance rule: the result must not exceed a ceiling. It does not require the output to weigh exactly that amount. This editor uses decimal units, so 100 KB means 100000 bytes and 1 MB means 1000000 bytes. A result of 98200 bytes meets a 100 KB limit; 100001 bytes does not. Those values explain the rule, rather than predicting what your photo will produce.
For JPEG and WebP, the tool can try different quality values. If the limit still cannot be met, a fit-mode job can reduce dimensions only when you explicitly allow that. Exact crop and padding canvases remain fixed. PNG follows a different path because its encoding is lossless here. An unreachable combination should lead to a clear warning and a revised requirement, not a secretly changed format or chopped-off subject.

Transparent space is not white space. An alpha channel records how opaque each pixel is, including soft edges around a logo or illustration. PNG and static WebP outputs can retain this channel. JPEG cannot: the image must be composited onto a background. Choose that background deliberately, especially when the final page is dark or the artwork has pale lettering.
Inspect edges against both light and dark surfaces. A logo that looks correct on white can reveal a halo on navy. Padding has the same choice: keep its empty space transparent, or fill it with a chosen color. Once alpha has been flattened into an opaque file, switching the extension back to PNG cannot reconstruct the missing transparency. Return to the transparent original instead.
Resizing changes pixel values along edges and gradients. A compact source may use a palette, while a browser export may use a fuller color representation. The original may also have been carefully optimized. Fewer pixels therefore do not guarantee fewer stored bytes. Compare the real source and output sizes rather than assuming a particular saving from the scale percentage.
Try the optional lossless optimizer when PNG is required. “Lossless” describes the optimization of the already exported PNG: it must preserve that image’s decoded pixels. It does not undo changes introduced by resizing, and it does not guarantee a smaller file for every input. If the optimized export is not smaller, retaining the valid native output is preferable to claiming a saving that did not happen.
A crop selects which information belongs in the final frame. The center of the source is only a starting point: a face, product label or horizon may sit elsewhere. Look at the subject and leave enough breathing room around it. For a wide cover image, check both the top and bottom. For a square made from a landscape, check the left and right before downloading.
Use the numeric rectangle when placement needs to be repeatable. X and Y locate its upper-left corner in the normalized source; width and height describe the selected area. Arrow keys can move the selection, and the focus controls adjust cover placement. These controls do not recognize faces automatically. A crop that is mathematically centered still needs a human composition check.
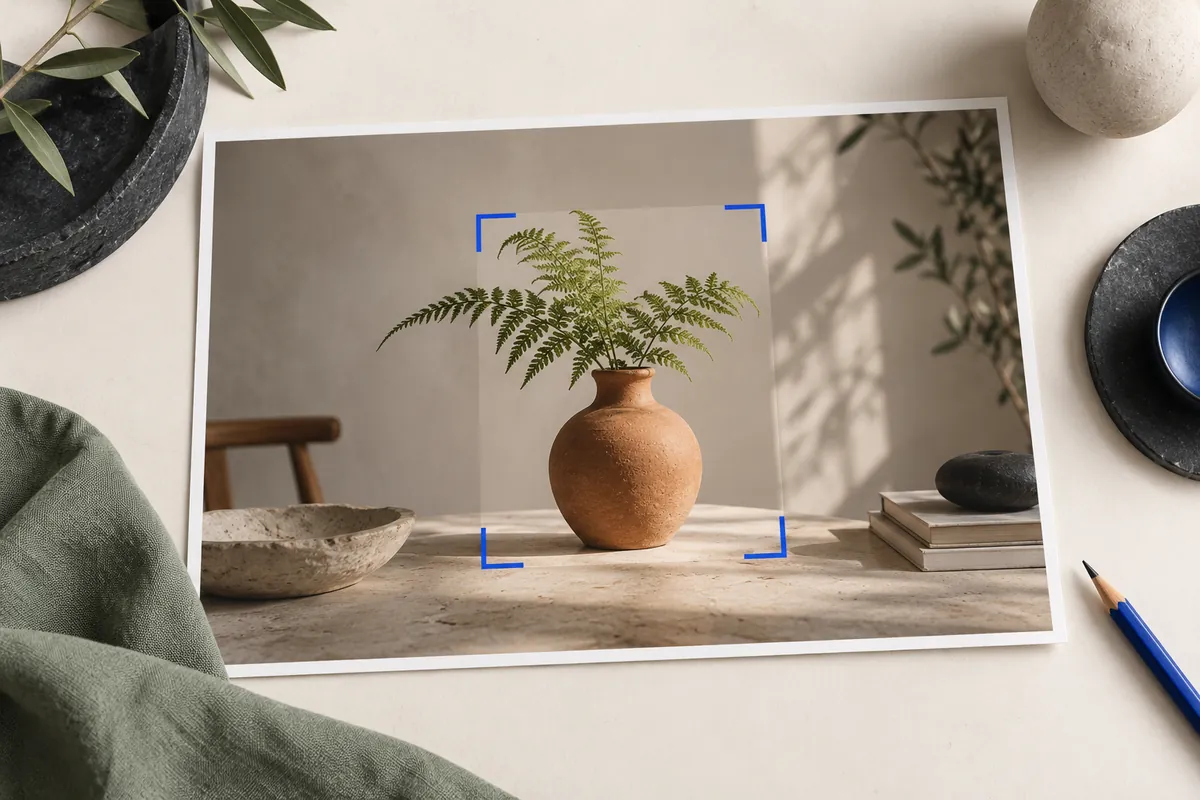
Padding changes the canvas while leaving the whole photograph visible. It is useful for catalog tiles, artwork previews and layouts where every file needs the same outer shape. Cover changes the composition to fill that shape. Both can make a 1080 × 1080 file, but only padding keeps all the original edges. Think about whether empty space or missing content is the more acceptable tradeoff.
A 1200 × 1800 portrait fitted into 1080 × 1080 becomes 720 × 1080, leaving 180 px on each side. A small 600 × 400 source stays at that size when enlargement is disabled; on a 1080 square it leaves 240 px horizontally and 340 px vertically. This can be the correct outcome. A larger canvas is not permission to invent missing source detail.
Upscaling estimates new samples between existing ones. It can make an image fit a larger rectangle, but it cannot reliably recover letters, eyelashes or texture that the source never recorded. A 600 px image enlarged to 2400 px has sixteen times as many output pixels when both sides scale by four. It does not have sixteen times as much photographic information.
Leave enlargement off unless the destination requires it and you accept the tradeoff. If a crop needs more pixels than the selected source area provides, the editor can reject it rather than silently enlarge. For important artwork, look for a higher-resolution original or a suitable vector source. This tool does not offer AI reconstruction, vector tracing or a professional restoration workflow.
A website image has an intrinsic pixel size and a displayed layout size. If a photograph appears 800 CSS pixels wide, exporting a 4000 px original may be unnecessary for that placement. A 1600 px candidate can be a sensible starting point for a display where two image pixels per CSS pixel are useful, but it is not a universal rule. Layout, display density and the importance of fine detail all affect the choice.
Make separate exports from the original when a project needs multiple sizes. A thumbnail, an article image and a large preview serve different viewing distances and layouts. Do not repeatedly shrink the previous JPEG export. This editor prepares individual assets; your site still needs to choose which asset to serve, reserve its layout space and provide meaningful alternative text when the image communicates content.
A consistent catalog begins with a consistent canvas and a deliberate subject scale. Stretching each photograph to the same width and height makes bottles, shoes and boxes look different from their real proportions. Padding is a safer starting point when the complete item matters. A fixed canvas makes files match; it does not automatically make every photographed object occupy the same percentage of that canvas.
Compare an object that nearly touches the source edges with one photographed from farther away. Both may need separate framing before the shared export. Keep shadows and labels that help a shopper understand the item. Test the background color with the actual storefront. This editor prepares the image rectangle; it does not remove backgrounds, retouch defects or certify marketplace acceptance.
Small lettering is often the first useful detail to disappear. A screenshot reduced until it weighs almost nothing may no longer communicate the error message or chart values it was meant to show. Start by removing irrelevant surroundings with a deliberate crop. Then reduce dimensions gradually and check the smallest line of text at the size a recipient will actually view.
PNG is a useful starting point for crisp interface graphics, but compare its measured weight with accepted alternatives. JPEG can add visible artifacts around high-contrast letters. An image can be geometrically correct and still fail as a readable document. Before sharing, inspect the visible content for personal information as well: removing metadata does not remove an email address, chat message or account number drawn into the pixels.
An email recipient usually needs comfortable viewing and readable detail, rather than every pixel from the camera. Choose a reasonable maximum dimension, then check the total attachment weight. Four images below 500000 bytes each total less than 2 MB as image files. The complete message can be larger because email encoding and other content add overhead. Check the actual service limit instead of assuming a universal attachment allowance.
For a mixed photo set, try a common fit box instead of forcing identical rectangles. For a screenshot, prioritize text readability. Download the prepared files and attach them in your own email application. This site does not access a mailbox, send messages, or upload an attachment on your behalf. If the original must accompany the reduced preview, make that a deliberate separate sharing decision.
One batch configuration does not imply one result shape. With a 1600 × 1600 fit box, a 4000 × 3000 landscape becomes 1600 × 1200, while a 3000 × 4000 portrait becomes 1200 × 1600. Each image keeps its own ratio. Use a padding canvas when outer dimensions need to match. Avoid applying one crop rectangle to unrelated compositions without checking each subject.
Process a small representative set first: one landscape, one portrait, one transparent graphic and your smallest source. Inspect those results before admitting the whole collection. Jobs run sequentially, and an unsupported file need not prevent supported files from finishing. The archive contains successful results, so compare the success count with the files you expected to receive.
A phone photograph can store its orientation in an EXIF tag instead of physically arranging the pixel grid as you expect. Software that interprets the tag displays it upright; software that ignores it may show a rotated result. This editor normalizes the supported image’s orientation before processing and removes EXIF, GPS and XMP from the exported image. The goal is an upright pixel result that does not depend on retaining the original orientation tag.
Metadata removal is useful when preparing a shareable derivative, but it is not complete anonymization. A face, address, license plate or location visible in the photograph remains visible unless you change the composition yourself. Also preserve an archival original when dates, camera settings or authorship information matter to your workflow. The reduced export is a delivery copy, not an archival replacement.
Choosing a file gives this page a reference to the image in your browser session. Decoding, resizing and encoding happen on the device, and downloads are created from the resulting local data. The image editor does not upload the input, output or filename to a processing server. You do not need an account to use the tools. Clearing the editor releases its references; closing the page ends the session.
The website itself still requests pages, scripts and codecs from its static host. That is different from uploading your photograph. Optional ads and analytics are disabled in this installation. Local processing also does not control what happens after you save or share a file: your download folder, browser extensions, device backups and receiving applications have their own behavior. Review the privacy page for the boundaries of this service.
The compressed input is only part of the memory cost. A decoded 4000 × 3000 RGBA image represents 48000000 bytes before working buffers and the output are considered. A batch of large originals can therefore be demanding even when each file looks small on disk. Sequential processing reduces simultaneous work, but it cannot make a device’s memory unlimited.
Admission limits are 25 MiB per file, 24 megapixels, 8192 px per side, 50 files and 250 MiB of queued input. A job below those headline limits can still be rejected if its intermediate image buffers exceed the working budget. On a constrained device, use fewer files or a smaller source and keep the original elsewhere. Cancel and clear are useful controls, not signs that a larger job is guaranteed to succeed on retry.
Pixel dimensions describe available samples. Pixels per inch relates those samples to a physical print size. At 300 pixels per inch, a 6 × 4 inch image needs 1800 × 1200 pixels. The same pixels at 150 pixels per inch describe 12 × 8 inches. Changing a density tag alone does not add information or turn a small screenshot into a detailed large print.
DPI is often used loosely for this conversation, but printer dots and image pixels are different quantities. Ask the print provider for actual dimensions, density and color requirements. This browser editor uses ordinary SDR/sRGB processing and does not promise preservation of every ICC profile, CMYK, HDR or 16-bit data. Use a print-specific workflow when those requirements matter.
Unexpected results are easier to diagnose when you name the actual failure. Avoid changing every setting at once. Read the symptom, identify the responsible concept and make a controlled new export from the original. The cases below separate geometry problems from encoding, transparency and resource problems.
| Symptom | Likely explanation | What to check |
|---|---|---|
| Result is not the exact rectangle | Fit is preserving the source ratio | Choose padding or cover for an exact canvas |
| Subject disappears at an edge | Cover or crop removes that area | Move the focus or preserve everything with padding |
| Transparent corners become opaque | JPEG or flattening was selected | Choose PNG/WebP and retain transparency |
| Reduced PNG weighs more | Encoding and color representation changed | Compare bytes and try lossless optimization |
| Text looks blurry | Too few pixels or aggressive lossy encoding | Retain more pixels, crop irrelevant space, review the format |
| A byte limit cannot be met | The constraints may be incompatible | Relax only a requirement the destination allows |
| A large job is rejected | Input or working-memory limits apply | Use a smaller source or fewer queued files |
The landscape in this project is an original synthetic illustration, not a borrowed customer photograph. Its source and three exports are available below. The fit image preserves the full composition; the cover image removes the top and bottom; the padded image preserves the composition on a wider canvas. Open them side by side and look at the tree, mountain and empty margins. You can reproduce the geometry with the source file in the editor.
The reference JPEG exports were created at quality 85 and their listed byte counts were measured from those files. A browser encoder may produce different bytes at the same nominal quality, so the figures are evidence about these downloadable samples, not guaranteed savings for your inputs. The lightweight demo is a separate 1200 × 900 copy; use the full source for the 4032 × 3024 calculations.
| Download | px | bytes |
|---|---|---|
| Full original | 4032 × 3024 | 225354 |
| Lightweight demo | 1200 × 900 | 36438 |
| Fit: keep the whole image | 1440 × 1080 | 41113 |
| Cover: fill and crop | 1920 × 1080 | 44272 |
| Padding: keep an exact canvas | 1920 × 1080 | 44602 |
A preview is helpful, but the saved output is what the receiving app will use. Check its actual dimensions, MIME type and exact bytes. Open the file in an image viewer, inspect the important details at a sensible scale, and confirm that transparency or the chosen background behaves as expected. If you created a ZIP, open it and compare its successful entries with the expected count.
When a result fails, change the constraint that is actually responsible. Wrong shape calls for a geometry decision; unreadable text calls for more detail or less aggressive encoding; excessive bytes call for a permitted compression or dimension change. Keep each candidate separate until you choose the final one. The original remains your reliable starting point for every new export.
These relationships explain why changing one setting can affect another. Use them to identify which constraint matters most for your image.
Fit treats both dimensions as maximum bounds and preserves the original ratio. It can therefore produce a smaller rectangle. Use padding for an exact canvas with the complete image, or cover when you accept removing edges.
No. JPEG quality 100 is still an encoding setting, not a promise of identical source pixels. Resizing itself also changes the grid. Preserve the original when you need an unchanged archive.
Not under every combination of required format, exact dimensions and useful detail. The tool measures the output and reports an unmet target. Reduce fit dimensions or change format only when the destination permits that compromise.
JPEG cannot retain alpha, and disabling transparency also flattens it. Choose PNG or static WebP with transparency enabled, starting from the transparent original. Converting an already opaque JPEG back to PNG cannot recover alpha.
Resampling, palette differences and encoder settings can change storage efficiency. Compare actual bytes and try the optional lossless optimizer. Fewer pixels alone do not guarantee a smaller encoded file.
The editor processes supported images in browser memory on your device. It does not upload image bytes, results or filenames. The site still requests its own pages and assets from static hosting.
The archive includes successful outputs. Failed or unsupported inputs are not presented as processed files. Check the success count and inspect the archive before sharing it.
No. Enlargement estimates new pixels and cannot reliably reconstruct details absent from the source. Find a higher-resolution original when those details are important.
No. Export removes EXIF, GPS and XMP, but personal information visible in the pixels remains. Review faces, addresses, screenshots and other visible content before sharing.
A density tag does not create more pixel detail. Calculate the required pixels from physical print size and pixels per inch, then follow the print provider’s actual requirements.
The numerical examples on this page come from explicit geometry calculations and the project’s synthetic files. Hypothetical byte counts illustrate acceptance rules; downloadable sample counts describe those specific files. The references below explain the underlying formats and browser export API, not a guaranteed saving or acceptance by another service.
Keep the original, choose one clear requirement, and inspect the exported file. A useful result meets its destination’s rules and keeps the details that matter.
Back to the image tools