A practical guide to your next decision
A practical field guide to image size, composition and file weight. Read from start to finish, or jump straight to the decision you need to make.
Worked example and sample files
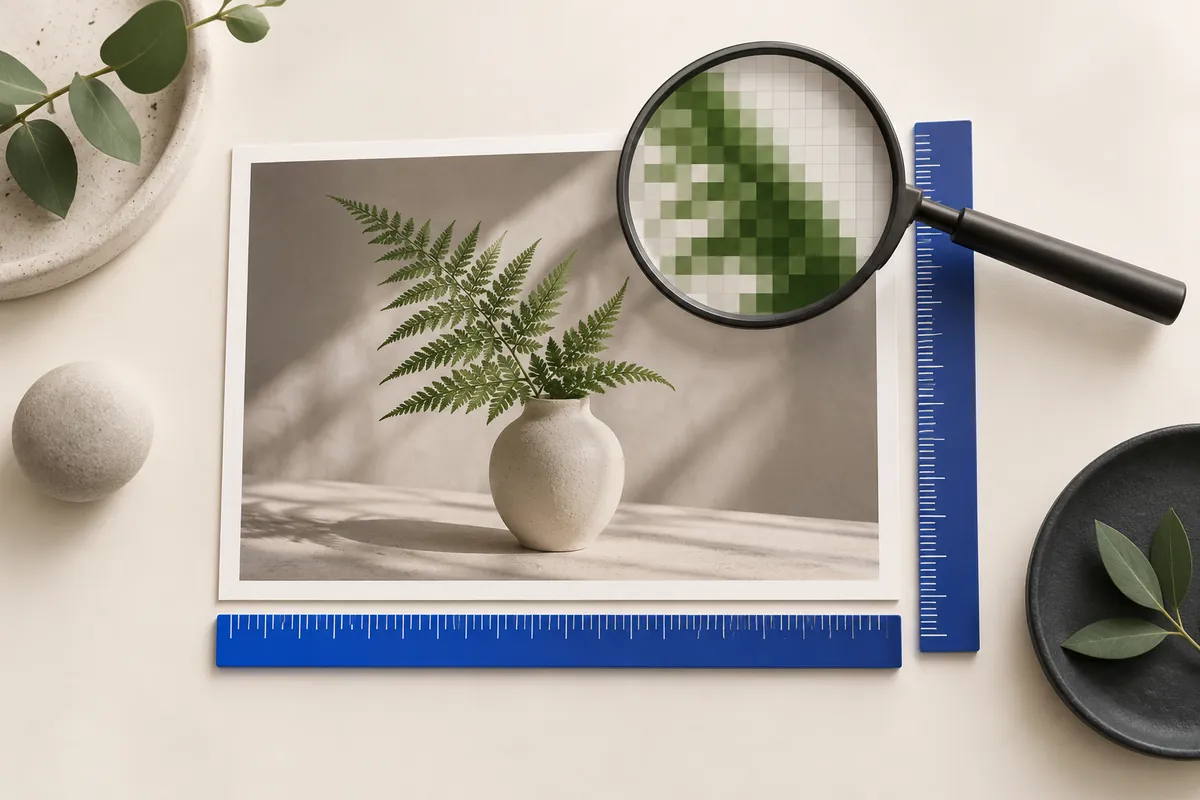
Pixels are the samples in the image. DPI or PPI relates those samples to a physical output size. A screen resizer changes pixel dimensions; it is not a print-profile editor. A printer, layout application or export workflow can interpret density metadata differently, so discuss the required pixel dimensions and print settings with the service producing the final print.
Work through an example
At 300 pixels per inch, a 6 × 4 inch print needs 1800 × 1200 pixels: multiply each physical side by 300. The same pixel file at 150 pixels per inch corresponds to 12 × 8 inches. Changing only a density tag does not create any extra image detail.
- Open the relevant tool below and choose a supported image. Check the original dimensions and bytes before changing anything.
- Set the dimensions and fitting mode for your destination. Enable enlargement only if you accept that it cannot restore missing detail.
- Process the image, switch between Original and Result, and check the final pixel dimensions and exact bytes. If a target is not met, change an allowed constraint and run again.
Check before you download
Browser canvas exports use ordinary SDR/sRGB processing and do not promise preserved CMYK, HDR, 16-bit data or every ICC profile. Do not use this tool to certify passport photo or professional print requirements.
Try the files yourself
The following original geometric illustration and exports are supplied with this project. These are actual files, not estimated savings. The exported examples use JPEG quality 85. Your own images will have different byte counts; compare details as well as weight.

| Result | Width × Height | File size |
|---|---|---|
| Original | 4032 × 3024 | 225354 bytes |
| Try a sample image | 1200 × 900 | 36438 bytes |
| Fit within bounds | 1440 × 1080 | 41113 bytes |
| Fill & crop | 1920 × 1080 | 44272 bytes |
| Add padding | 1920 × 1080 | 44602 bytes |




Choose your next step
Exported images remove EXIF, GPS and XMP metadata. Processing uses SDR/sRGB.
Calculate the physical size before exporting
For a proposed print, multiply each side in inches by the chosen pixels-per-inch requirement. If the source does not supply those dimensions, changing a density tag cannot solve the shortage. Ask whether a smaller print, a higher-resolution original or a different production method is appropriate. Do not confuse an interpolated larger grid with newly captured detail.
This editor reports and changes pixel dimensions. It is not a professional prepress application and does not certify printer color, bleed, embedded profiles or a document’s legal dimensions. Use the numerical examples to understand the relationship, then follow the actual print provider’s specification with a suitable production tool.
Print density does not create image detail
Pixel dimensions describe available samples. Pixels per inch relates those samples to a physical print size. At 300 pixels per inch, a 6 × 4 inch image needs 1800 × 1200 pixels. The same pixels at 150 pixels per inch describe 12 × 8 inches. Changing a density tag alone does not add information or turn a small screenshot into a detailed large print.
DPI is often used loosely for this conversation, but printer dots and image pixels are different quantities. Ask the print provider for actual dimensions, density and color requirements. This browser editor uses ordinary SDR/sRGB processing and does not promise preservation of every ICC profile, CMYK, HDR or 16-bit data. Use a print-specific workflow when those requirements matter.
Pixels describe the image; bytes describe the file
A 1920 × 1080 image has 2073600 pixels, regardless of whether it is stored as JPEG, PNG or WebP. That count describes its decoded grid. The download’s byte count describes the compressed representation of that grid. A flat illustration and a grainy photograph can share the same dimensions while producing very different file weights. Texture, noise, alpha and encoding settings all change what the encoder has to store.
This distinction explains two common surprises. A smaller image can still weigh more after it is re-encoded with different settings. A tiny compressed file can still need substantial memory when decoded. Evaluate dimensions, stored bytes and visual detail separately. None of those measurements can stand in for the other two.
Enlargement adds pixels, not recovered detail
Upscaling estimates new samples between existing ones. It can make an image fit a larger rectangle, but it cannot reliably recover letters, eyelashes or texture that the source never recorded. A 600 px image enlarged to 2400 px has sixteen times as many output pixels when both sides scale by four. It does not have sixteen times as much photographic information.
Leave enlargement off unless the destination requires it and you accept the tradeoff. If a crop needs more pixels than the selected source area provides, the editor can reject it rather than silently enlarge. For important artwork, look for a higher-resolution original or a suitable vector source. This tool does not offer AI reconstruction, vector tracing or a professional restoration workflow.
The concepts behind this page
These relationships explain why changing one setting can affect another. Use them to identify which constraint matters most for your image.
- Pixels per inch
- A relationship between pixel dimensions and a chosen physical print size.
- Pixel dimensions
- The width and height of the decoded image grid.
- Image metadata
- Information such as EXIF orientation, camera details and GPS tags.
- File size in bytes
- The amount of data in the encoded download, measured after processing.
- Encoding quality
- A JPEG/WebP setting that trades compression against visible artifacts.
- Crop
- A selected source rectangle that leaves the remaining edges out of the export.
- Output canvas
- The complete exported rectangle, including any padding.
- Encoding quality influences the encoded File size in bytes.
- Pixels per inch relates physical print size to Pixel dimensions.
Questions worth asking before you export
Does changing DPI make the image sharper?
A density tag does not create more pixel detail. Calculate the required pixels from physical print size and pixels per inch, then follow the print provider’s actual requirements.
Why is the output smaller than the dimensions I entered?
Fit treats both dimensions as maximum bounds and preserves the original ratio. It can therefore produce a smaller rectangle. Use padding for an exact canvas with the complete image, or cover when you accept removing edges.
Does metadata removal make the image anonymous?
No. Export removes EXIF, GPS and XMP, but personal information visible in the pixels remains. Review faces, addresses, screenshots and other visible content before sharing.
Sources and how to verify the examples
The numerical examples on this page come from explicit geometry calculations and the project’s synthetic files. Hypothetical byte counts illustrate acceptance rules; downloadable sample counts describe those specific files. The references below explain the underlying formats and browser export API, not a guaranteed saving or acceptance by another service.
Ready to prepare your image?
Keep the original, choose one clear requirement, and inspect the exported file. A useful result meets its destination’s rules and keeps the details that matter.
Back to the image tools