Resize without losing quality: what is possible?
Learn what resizing changes, why enlarging cannot restore detail and how JPEG, PNG and WebP settings affect quality. Compare examples before exporting.
Read guide →Learn about image guides at Resize Images Online, a local browser image editor.
Learn what resizing changes, why enlarging cannot restore detail and how JPEG, PNG and WebP settings affect quality. Compare examples before exporting.
Read guide →Understand image dimensions versus file size in KB or MB. See how content, format and compression affect bytes, and choose the right control for your limit.
Read guide →Follow a practical workflow for image upload limits: inspect bytes, choose a format, tune quality and reduce dimensions only when needed. Verify the export.
Read guide →Compare cropping, proportional resizing and padding with visual examples. Choose an exact canvas or preserve the full image without stretching its contents.
Read guide →Keep PNG transparency when resizing logos and graphics. Learn about alpha edges, padded backgrounds and export formats, then inspect a worked example.
Read guide →Plan a batch resize with mixed image ratios, shared dimensions and safe filenames. Review each output, understand queue limits and download a ZIP locally.
Read guide →Prepare photos for email by balancing viewing dimensions and attachment bytes. Choose a format, resize in batches and check limits without uploading photos.
Read guide →Give product photos a consistent canvas and aspect ratio. Compare padding and cropping, handle transparent backgrounds and check a batch before export.
Read guide →See why fewer pixels can still produce a larger PNG. Compare pixel content, transparency and compression, then try PNG optimization and inspect actual bytes.
Read guide →Understand EXIF orientation and why photos look rotated across apps. Check the local preview and exported pixels, and learn what metadata removal changes.
Read guide →Learn how pixels, DPI and physical print size relate. Use worked calculations to estimate print dimensions and understand what an image resizer can change.
Read guide →Keep the whole photo inside a square canvas using padding. Compare solid and transparent backgrounds, calculate margins and preview a 1080 × 1080 example.
Read guide →A practical field guide to image size, composition and file weight. Read from start to finish, or jump straight to the decision you need to make.
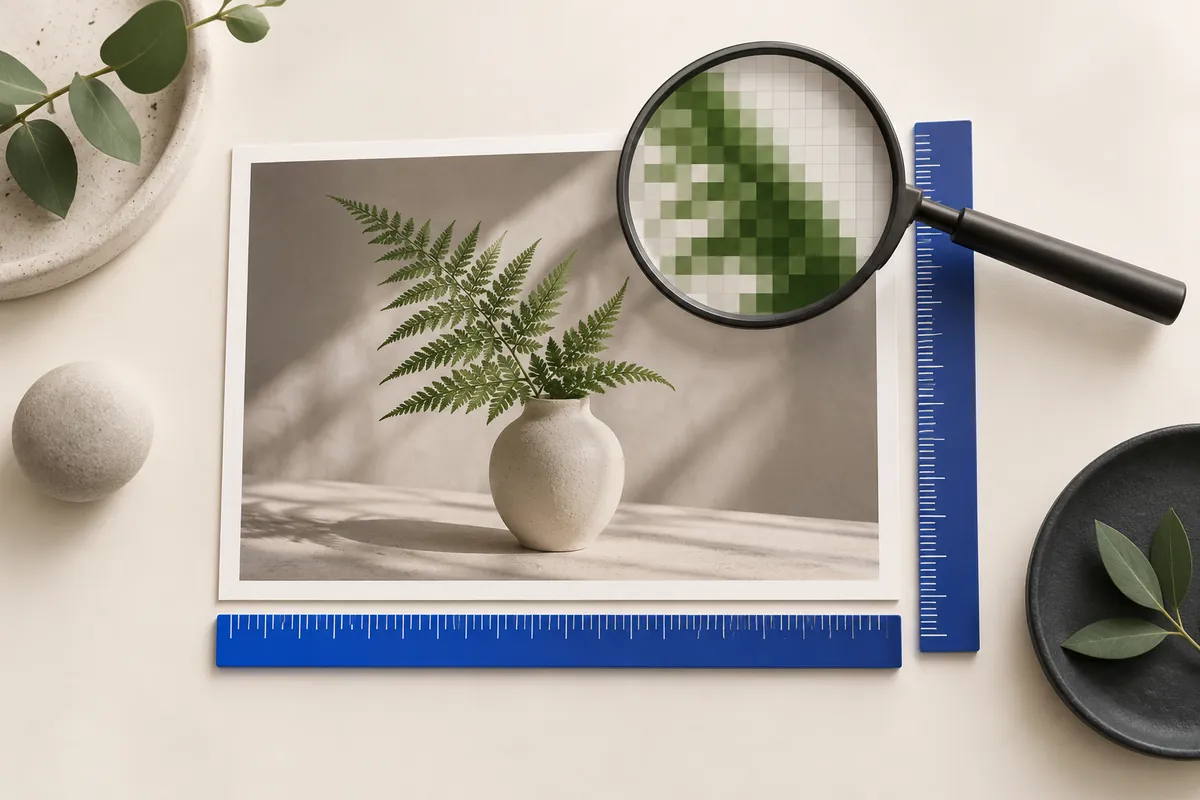
Start with the guide that matches your uncertainty. Pixels versus file size explains what to measure. Crop versus resize explains what happens to composition. Transparent PNG explains alpha and backgrounds. Quality and upscaling explain what an export can preserve and what it cannot recover. Each guide connects the concept to an operation you can try with real sample files.
For a project, combine the relevant decisions rather than applying one recipe blindly. A catalog may need both a square canvas and a byte budget. An attachment may need both readable text and a manageable total size. Use the examples as calculations and experiments, not as promises about your own input. Inspect the final download and the destination’s actual acceptance rules.
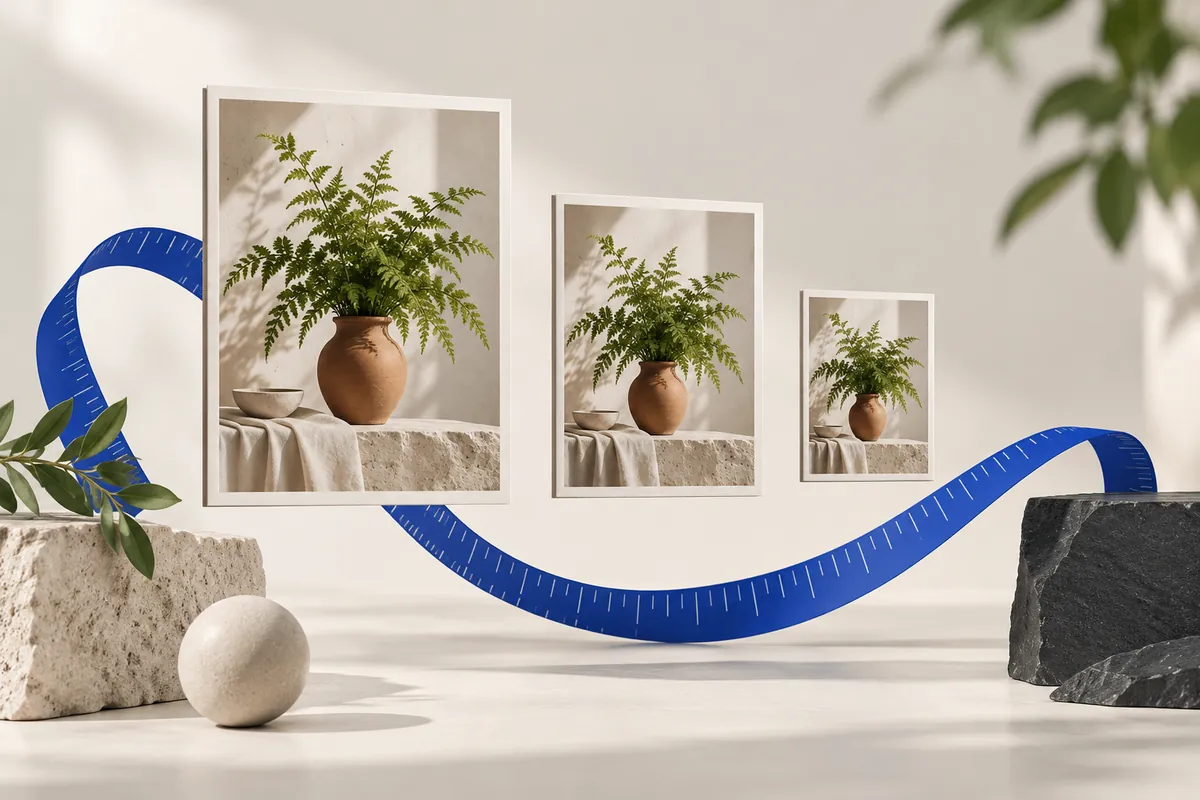
An image is ready when it meets the place where it will be used. A page may ask for a maximum width; an upload form may enforce a byte ceiling; a layout may need an exact rectangle. Those requirements are related, but they are not interchangeable. Write down the destination’s actual instructions before you change the source. “Make it smaller” is a direction. “Keep the complete photo within 1600 × 1600 and below 500000 bytes” is a testable result.
Separate the non-negotiable rules from your preferences. If every product must stay visible, cropping is not an acceptable shortcut. If a form requires PNG, switching to JPEG is not a solution. If a fixed canvas is mandatory, fit mode alone may leave you with the wrong dimensions. The best settings are the ones that satisfy the hard rules while keeping useful detail.
Use fit mode when neither side may exceed a limit and the whole subject must remain visible.
Use padding to keep the entire image, or cover when you deliberately accept a crop.
Set a file-size ceiling and verify the encoded output independently of its dimensions.
A 1920 × 1080 image has 2073600 pixels, regardless of whether it is stored as JPEG, PNG or WebP. That count describes its decoded grid. The download’s byte count describes the compressed representation of that grid. A flat illustration and a grainy photograph can share the same dimensions while producing very different file weights. Texture, noise, alpha and encoding settings all change what the encoder has to store.
This distinction explains two common surprises. A smaller image can still weigh more after it is re-encoded with different settings. A tiny compressed file can still need substantial memory when decoded. Evaluate dimensions, stored bytes and visual detail separately. None of those measurements can stand in for the other two.
Aspect ratio is width divided by height. A 4000 × 3000 photograph has a 4:3 ratio; a 1200 × 800 photograph has a 3:2 ratio. Changing both sides by the same scale factor preserves this relationship. Changing them independently can stretch a face, widen a bottle or turn a circle into an oval. This editor uses proportional fitting, cropping or padding instead of treating distortion as an acceptable resize.
When you only know the desired width, leave the other side automatic. For a 4000 × 3000 source, width 1600 gives height 1200. If the destination instead needs 1600 × 900, you are also asking for a new ratio. Decide whether the missing space should come from cropping the image or adding space around it. A ratio decision is a composition decision, not just a multiplication.
A JPEG quality value of 85 does not mean that 85% of the source survives. It is an encoder setting, and its visual effect depends on the image and the encoder. Start with a moderate high-quality export, inspect important details, then lower the setting only as far as your use case allows. Skin, hair, small lettering, foliage and smooth gradients are useful places to look for artifacts.
Dimensions and quality solve different problems. A 4000 px photo at very low quality may contain lots of pixels but weak detail. A 1000 px photo at high quality may look clean at its intended size but cannot supply a large print. Choose a sensible pixel grid first; then use quality to control encoding. Even quality 100 is not a guarantee that a JPEG export is lossless.
A preview is helpful, but the saved output is what the receiving app will use. Check its actual dimensions, MIME type and exact bytes. Open the file in an image viewer, inspect the important details at a sensible scale, and confirm that transparency or the chosen background behaves as expected. If you created a ZIP, open it and compare its successful entries with the expected count.
When a result fails, change the constraint that is actually responsible. Wrong shape calls for a geometry decision; unreadable text calls for more detail or less aggressive encoding; excessive bytes call for a permitted compression or dimension change. Keep each candidate separate until you choose the final one. The original remains your reliable starting point for every new export.
These relationships explain why changing one setting can affect another. Use them to identify which constraint matters most for your image.
Fit treats both dimensions as maximum bounds and preserves the original ratio. It can therefore produce a smaller rectangle. Use padding for an exact canvas with the complete image, or cover when you accept removing edges.
No. JPEG quality 100 is still an encoding setting, not a promise of identical source pixels. Resizing itself also changes the grid. Preserve the original when you need an unchanged archive.
No. Enlargement estimates new pixels and cannot reliably reconstruct details absent from the source. Find a higher-resolution original when those details are important.
The numerical examples on this page come from explicit geometry calculations and the project’s synthetic files. Hypothetical byte counts illustrate acceptance rules; downloadable sample counts describe those specific files. The references below explain the underlying formats and browser export API, not a guaranteed saving or acceptance by another service.
Keep the original, choose one clear requirement, and inspect the exported file. A useful result meets its destination’s rules and keeps the details that matter.
Back to the image tools