A practical guide to your next decision
A practical field guide to image size, composition and file weight. Read from start to finish, or jump straight to the decision you need to make.

Worked example and sample files
A maximum file size is a ceiling, not an exact target. This editor uses decimal units: 100 KB means 100000 bytes and 1 MB means 1000000 bytes. KiB uses 1024 bytes, so do not substitute a KiB figure when a form specifies KB. JPEG and WebP allow a quality search. PNG requires a different approach: lossless optimization, fewer pixels or an explicitly chosen format change.
Work through an example
Choose the 100 KB preset, keep the original format and process your photo. A measured result of 98200 bytes meets the limit; 100001 bytes does not. These two byte counts illustrate the acceptance rule, not a guaranteed output. The actual downloadable sample measurements appear below.
- Open the relevant tool below and choose a supported image. Check the original dimensions and bytes before changing anything.
- Set the dimensions and fitting mode for your destination. Enable enlargement only if you accept that it cannot restore missing detail.
- Process the image, switch between Original and Result, and check the final pixel dimensions and exact bytes. If a target is not met, change an allowed constraint and run again.
Check before you download
If the limit cannot be met, the editor says so. Allow smaller dimensions only if the destination permits them. Exact cover and padding dimensions stay fixed even when that option is enabled. Never solve a byte requirement by silently cropping or changing formats.
Try the files yourself
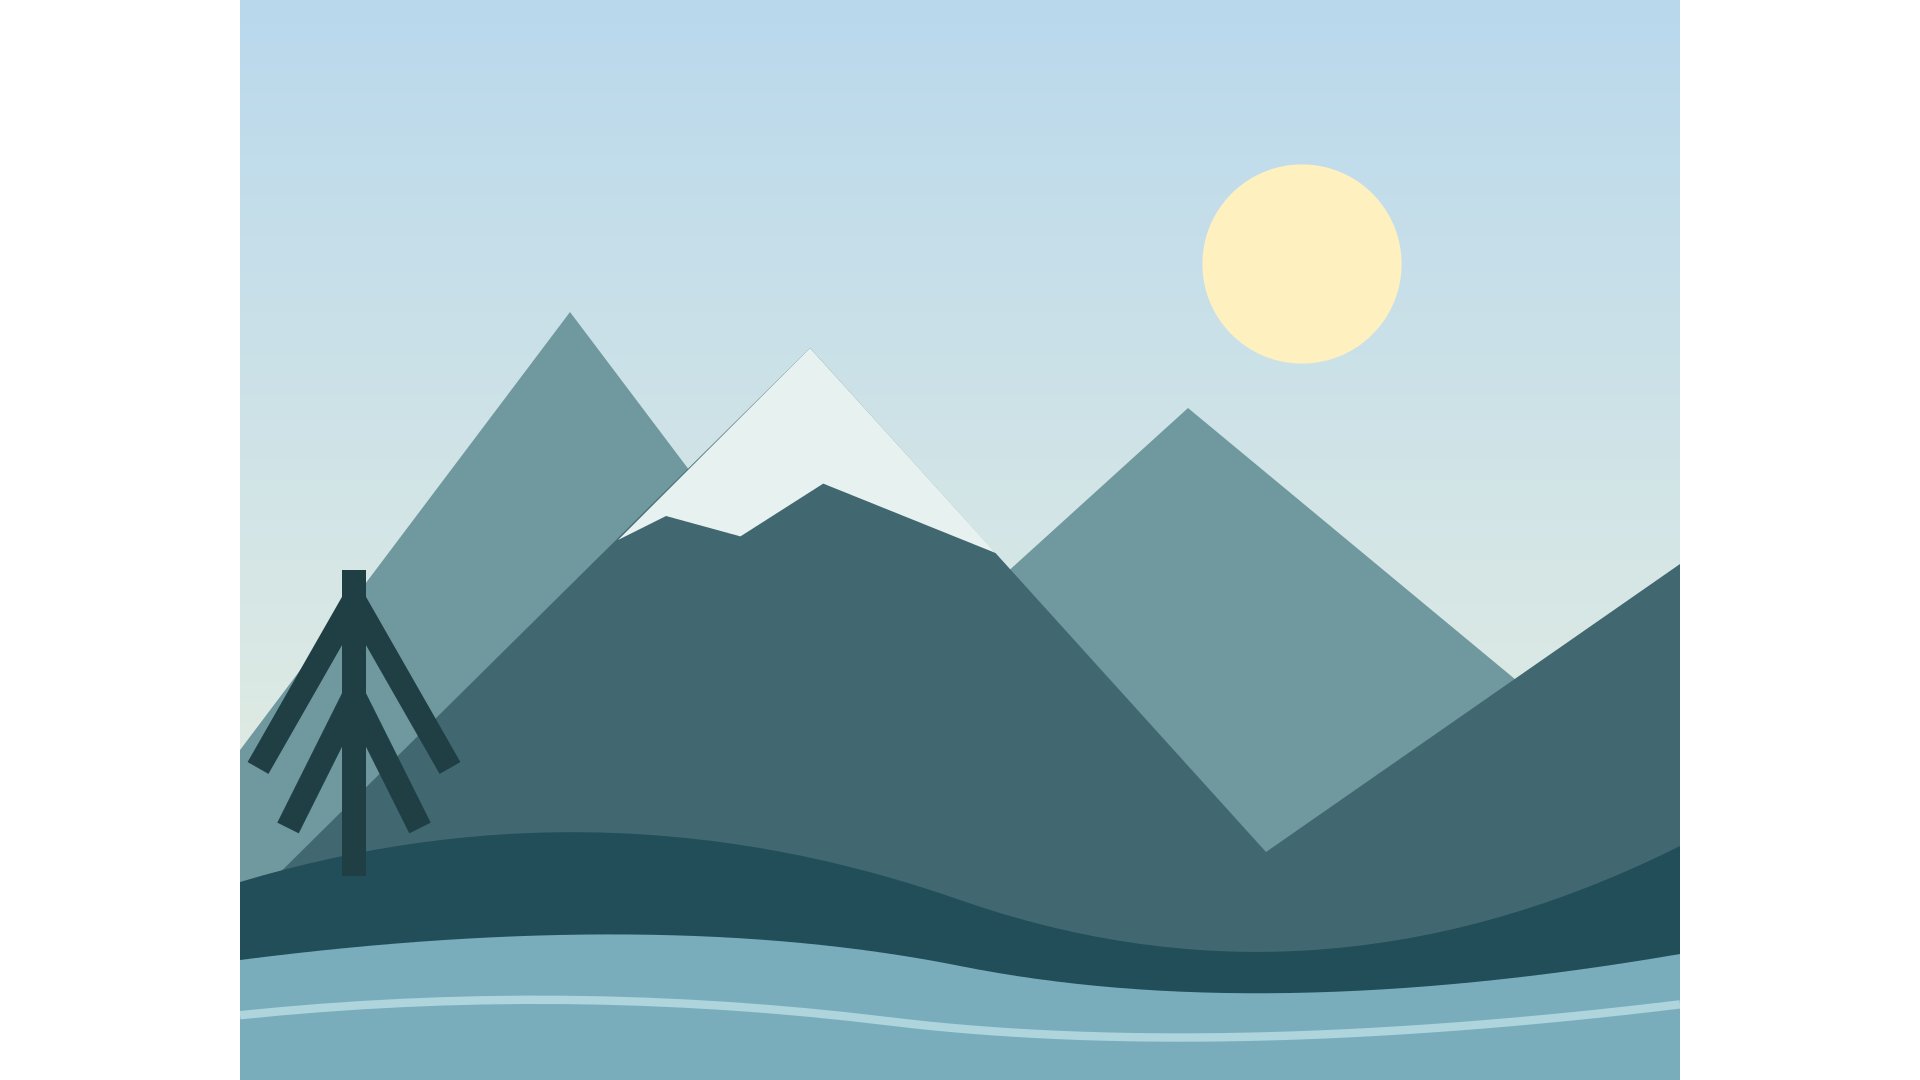
The following original geometric illustration and exports are supplied with this project. These are actual files, not estimated savings. The exported examples use JPEG quality 85. Your own images will have different byte counts; compare details as well as weight.

| Result | Width × Height | File size |
|---|---|---|
| Original | 4032 × 3024 | 225354 bytes |
| Try a sample image | 1200 × 900 | 36438 bytes |
| Fit within bounds | 1440 × 1080 | 41113 bytes |
| Fill & crop | 1920 × 1080 | 44272 bytes |
| Add padding | 1920 × 1080 | 44602 bytes |



Choose your next step
Exported images remove EXIF, GPS and XMP metadata. Processing uses SDR/sRGB.
Build an acceptance test before a compression test
Write the rule in exact units. Does the form say below 200 KB, at most 200 KB, or at most 204800 bytes? Those statements may not describe the same ceiling. This editor’s KB is decimal. When the destination gives a byte count, use that exact count. When its wording is ambiguous, check its help or actual validation rather than silently replacing decimal KB with binary KiB.
Then rank the other requirements. Keep an exact canvas if it is mandatory. Preserve alpha if the destination needs it. Use a smaller fit result only when allowed. If all settings are fixed and the candidate is too large, report the conflict rather than weakening an unrelated requirement. A failed test can still save time by identifying a genuinely incompatible request.
Meet a byte ceiling without hiding the tradeoff
A maximum file size is an acceptance rule: the result must not exceed a ceiling. It does not require the output to weigh exactly that amount. This editor uses decimal units, so 100 KB means 100000 bytes and 1 MB means 1000000 bytes. A result of 98200 bytes meets a 100 KB limit; 100001 bytes does not. Those values explain the rule, rather than predicting what your photo will produce.
For JPEG and WebP, the tool can try different quality values. If the limit still cannot be met, a fit-mode job can reduce dimensions only when you explicitly allow that. Exact crop and padding canvases remain fixed. PNG follows a different path because its encoding is lossless here. An unreachable combination should lead to a clear warning and a revised requirement, not a secretly changed format or chopped-off subject.
Quality is a control, not a percentage of perfection
A JPEG quality value of 85 does not mean that 85% of the source survives. It is an encoder setting, and its visual effect depends on the image and the encoder. Start with a moderate high-quality export, inspect important details, then lower the setting only as far as your use case allows. Skin, hair, small lettering, foliage and smooth gradients are useful places to look for artifacts.
Dimensions and quality solve different problems. A 4000 px photo at very low quality may contain lots of pixels but weak detail. A 1000 px photo at high quality may look clean at its intended size but cannot supply a large print. Choose a sensible pixel grid first; then use quality to control encoding. Even quality 100 is not a guarantee that a JPEG export is lossless.
Why a resized PNG can become heavier
Resizing changes pixel values along edges and gradients. A compact source may use a palette, while a browser export may use a fuller color representation. The original may also have been carefully optimized. Fewer pixels therefore do not guarantee fewer stored bytes. Compare the real source and output sizes rather than assuming a particular saving from the scale percentage.
Try the optional lossless optimizer when PNG is required. “Lossless” describes the optimization of the already exported PNG: it must preserve that image’s decoded pixels. It does not undo changes introduced by resizing, and it does not guarantee a smaller file for every input. If the optimized export is not smaller, retaining the valid native output is preferable to claiming a saving that did not happen.
The concepts behind this page
These relationships explain why changing one setting can affect another. Use them to identify which constraint matters most for your image.
- File size in bytes
- The amount of data in the encoded download, measured after processing.
- Output canvas
- The complete exported rectangle, including any padding.
- Alpha channel
- Per-pixel opacity, including partially transparent edges.
- Encoding quality
- A JPEG/WebP setting that trades compression against visible artifacts.
- Pixel dimensions
- The width and height of the decoded image grid.
- JPEG
- A supported photographic output with lossy encoding and no transparency.
- PNG
- A supported lossless output that can carry an alpha channel.
- Encoding quality influences the encoded File size in bytes.
- JPEG flattens instead of retaining an Alpha channel.
- PNG can preserve an Alpha channel.
Questions worth asking before you export
Why is the output smaller than the dimensions I entered?
Fit treats both dimensions as maximum bounds and preserves the original ratio. It can therefore produce a smaller rectangle. Use padding for an exact canvas with the complete image, or cover when you accept removing edges.
Does quality 100 make the export lossless?
No. JPEG quality 100 is still an encoding setting, not a promise of identical source pixels. Resizing itself also changes the grid. Preserve the original when you need an unchanged archive.
Can enlargement recover missing text or faces?
No. Enlargement estimates new pixels and cannot reliably reconstruct details absent from the source. Find a higher-resolution original when those details are important.
Sources and how to verify the examples
The numerical examples on this page come from explicit geometry calculations and the project’s synthetic files. Hypothetical byte counts illustrate acceptance rules; downloadable sample counts describe those specific files. The references below explain the underlying formats and browser export API, not a guaranteed saving or acceptance by another service.
Ready to prepare your image?
Keep the original, choose one clear requirement, and inspect the exported file. A useful result meets its destination’s rules and keeps the details that matter.
Back to the image tools